How to Remove a Background in Canva (Free & Pro)
Want the short version? Select your image, click Edit Image, choose Background Remover, and let Canva’s AI cut out the subject in a few seconds. Then download it as a transparent PNG. The one-click Background Remover is a Canva Pro feature. If you are on a free account, don’t worry. There is a genuinely free workaround, and I will show you that too.
Knowing how to use Canva to remove background clutter is one of the most useful skills in the whole tool. Think of a clean cut-out like a sticker. Once you have peeled your subject off its messy background, you can stick it onto any design you like, a coloured panel, a slide, a brochure, without dragging a distracting backdrop along with it. This guide walks through the exact steps, how to fix the messy edges the AI sometimes leaves, how to export the file so it stays transparent, and the straight answer on what costs money and what doesn’t. If you are brand new to the tool, our complete beginner’s guide to Canva covers the basics first.
Learn Canva hands-on with our Canva Design Masterclass →

What removing a background actually does in Canva
Removing a background means isolating the subject of an image and deleting everything behind it. Canva’s Background Remover uses AI to spot the main subject and erase the rest, leaving a transparent area in its place. Inside the editor, that empty area shows up as a grey-and-white checkerboard.
Why does this matter? A transparent cut-out is reusable. You can place the same subject on a solid colour, a gradient, a photo, or a presentation slide, with no ugly white box around it. This is not the same as cropping or hiding the background. The pixels behind your subject are genuinely gone, so the image carries no backdrop with it when you export it correctly.
It works best on photos with one clear subject: a person, a product, an animal, a logo. The cleaner the gap between subject and background in the original photo, the cleaner the result.
How to remove a background in Canva: step by step
Here is the full process with the Canva Background Remover. For most images it takes under two minutes.
- Upload your image. Open a Canva design, click Uploads in the left sidebar, then Upload files, and add your photo. Drag it onto the canvas. You can also pick a stock photo from the Elements tab.
- Select the image. Click the photo once so the selection handles appear around it.
- Open Edit Image. With the image selected, click Edit Image in the top toolbar.
- Click Background Remover. In the panel on the left, choose Background Remover. Canva works for two to five seconds, then swaps the background for a transparent checkerboard.
- Apply. Click outside the panel to keep the result.
That is it. Your subject now sits on a transparent background, ready to design around. Everything after this is refinement and exporting. Extremely easy, and that five-step sequence is the whole of how to use Canva background remover. For the official feature notes, see Canva’s own Background Remover help page.
Refine the edges: erase, restore, and the hair/glass problem
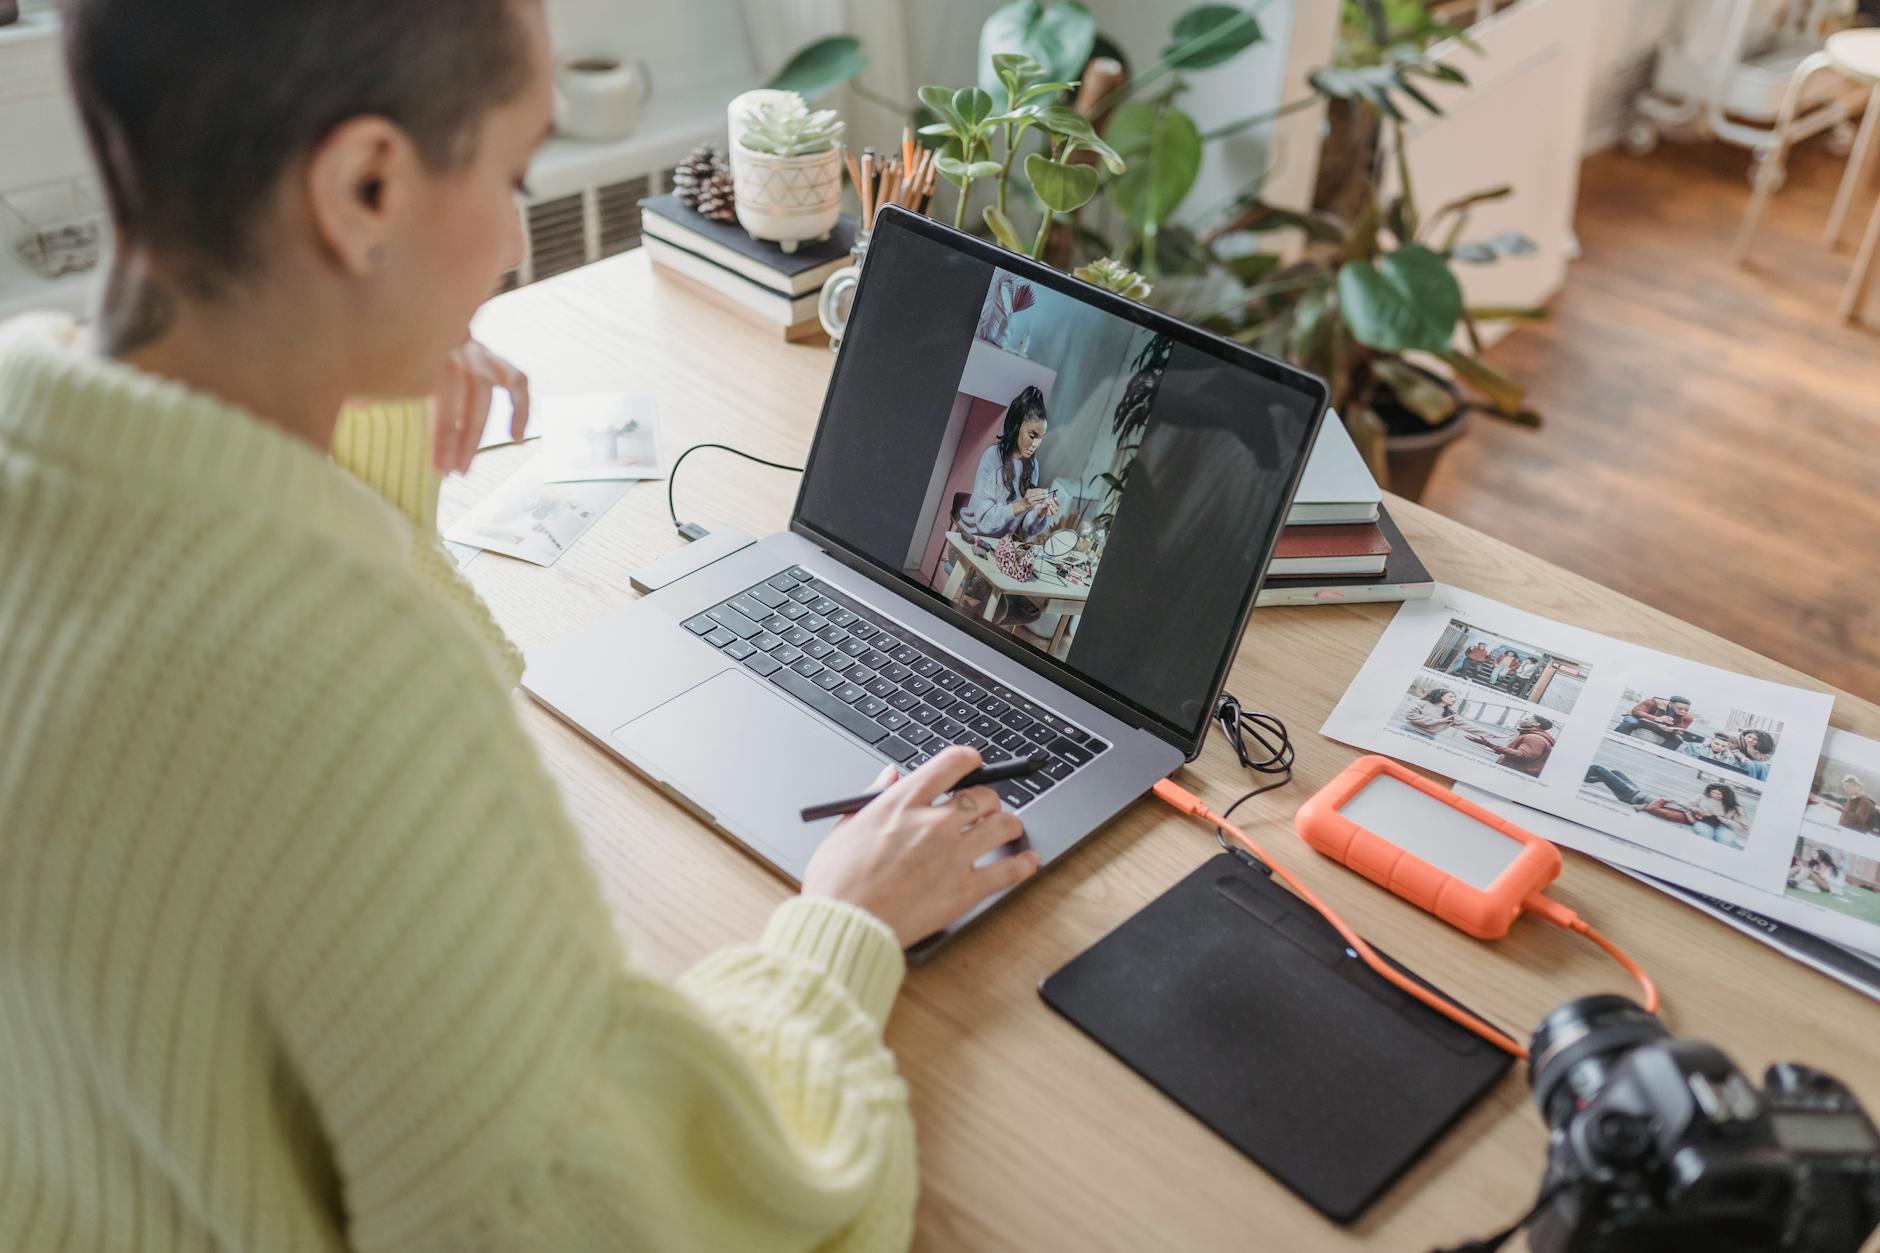
The AI gets most images right on the first pass. But it struggles with fine detail. Strands of hair, glass, fur, and thin things like jewellery are where it leaves rough or missing edges. Canva gives you two brushes to fix this.
Open the Background Remover panel again and look for the Erase and Restore controls.
- Erase removes leftover background the AI missed, like a patch of sky trapped between an arm and a body.
- Restore paints back parts of the subject that were wrongly deleted.
Adjust the brush size with the slider. Use a small brush, around 10 to 20, for detailed work near hair and edges, and zoom in to 200% for precision. Work in short strokes, not long sweeps, and use undo (Ctrl+Z or Cmd+Z) freely. For a photo with windswept hair against a busy street, expect a minute or two of restoring detail. If your subject was shot against a plain, contrasting wall, you will barely touch these brushes at all. This is also the tool to reach for when you want a quick canva object remover effect on a small stray element near your subject.
Export it right: save a transparent PNG
This is the step that trips people up. After 24 years of training in Singapore, I can tell you the most common Canva complaint I hear is not “how do I remove the background” but “I removed it, so why is there still a white box around my image?” The answer is almost always the export.
Removing the background inside the editor does nothing if you save the wrong file type. To keep the canva transparent background, you must export as a PNG with transparency switched on.
- Click Share in the top-right corner.
- Choose Download.
- Set the file type to PNG.
- Tick the Transparent background checkbox.
- Pick your size (1x, 2x, or 3x) and download.
PNG is the only common format that holds transparency, which is exactly why a canva jpg to png step matters here. A JPG cannot store an empty area, so it fills the gap with white. If your download keeps showing that white box, the cause is one of two things: you saved a JPG, or you forgot the transparency checkbox. That checkbox is the whole answer to canva how to make background transparent on export. To check it worked, open the PNG and look for the checkerboard, or drop it onto a coloured background and see if the colour shows through.

Is the Canva Background Remover free? Free vs Pro (and the free workaround)
Here is the honest answer that a lot of guides tiptoe around: the Canva Background Remover is not free. It needs a paid plan: Canva Pro, Teams, Education, or the Nonprofits tier. On a free account, the Background Remover button either does not appear or is locked. Some articles are even titled “remove background for free” and then quietly admit halfway down that you need to pay. So let me be clear about what is actually free.
If you do not have a paid plan, you have three real options:
- Start the Canva Pro free trial. Canva offers a 30-day trial. If you only need a handful of cut-outs, the trial covers it at no cost, as long as you remember to cancel before it renews.
- Use a free external tool, then import. Run your photo through a free background remover such as remove.bg, download the transparent PNG, and upload that PNG into your free Canva account. Canva keeps the transparency, so you get the same result without Pro. How good is that?
- Stay on Pro if you do this often. If background removal is part of your weekly work, a paid plan pays for itself in saved time and skips the import round-trip.
A small observation from the training room. Most Singapore professionals I meet are over-trained on theory and under-trained on application. They have heard Canva can remove backgrounds; far fewer have actually done it under deadline, with a manager waiting for the artwork. The tool is easy. The confidence to do it quickly comes from having done it a few times.
Canva Design Masterclass
If you want to go from one-off fixes to designs your boss is happy to put in front of a client, our Canva Design Masterclass is a hands-on, instructor-led course built for working professionals in Singapore.
Remove an object, not the whole background (Magic Eraser)
The Background Remover clears everything behind your subject. But sometimes you do not want the whole background gone. You just want to remove one unwanted thing: a photobomber, a stray sign, a rubbish bin in the corner. That is the job of the Magic Eraser.
The difference is simple:
- Background Remover isolates the subject and clears the entire background. Use it for transparent cut-outs.
- Magic Eraser removes a specific object you brush over, then fills the gap to match its surroundings. Use it to clean up a photo while keeping its background.
Both are Pro features, and both live in the Edit Image panel. Knowing which one to reach for saves you from fighting the wrong tool. If you only need to delete one small element, the canva magic eraser is faster and far less destructive than stripping the whole background and rebuilding it from scratch. Once you have a clean cut-out, you can drop it straight onto a slide; our guide to designing a presentation in Canva shows where it fits.
When Canva isn’t enough: alternatives and trade-offs
Canva’s tool is quick and good enough for most marketing and social work. But it has limits. It cannot batch-process dozens of images, it does not handle video, and on very fiddly edges a dedicated editor wins. Here are the main alternatives and what each one trades off:
- remove.bg — free for low-resolution, paid for full-size. One click, no design skill needed. Best for quick one-offs and for the free workaround above.
- Adobe Photoshop — the most control and the cleanest edges on hard images, but a steep learning curve and a subscription.
- Photopea — a free, browser-based Photoshop alternative that handles manual cut-outs without a subscription.
One note on watermarks. People often search for a way to strip a watermark off a stock image. Canva has no dedicated watermark remover, and removing a watermark from an image you do not own is a copyright problem, not just a technical one. Of course your boss wants it for free, but the right fix is to buy the licensed version or use a properly licensed photo. It saves a far bigger headache later. If video is your real need, that is a different toolkit entirely, and broader AI workflows sit in our digital transformation with AI tools programme.

Frequently asked questions
Is the Canva Background Remover free?
No. The Background Remover is a paid feature, available on Canva Pro, Teams, Education, and Nonprofits. Free accounts cannot use it directly. You do have two ways around that. Use the 30-day Pro free trial, or run your image through a free external tool like remove.bg and import the transparent PNG into your free Canva account. The imported PNG keeps its transparency, so you get the same result without paying a cent.
Why is the Background Remover not showing up in Canva?
Usually one of two reasons. First, your account is not on a paid plan, so the tool is hidden or locked. Check your subscription in Settings. Second, you have not clicked Edit Image yet. The Background Remover lives inside the Edit Image panel, not on the main toolbar. Select the image, open Edit Image, and it appears.
How do I make a background transparent in Canva?
Remove the background with the Background Remover, then export it correctly. Click Share, choose Download, set the file type to PNG, and tick the Transparent background checkbox before you download. PNG is the only common format that keeps transparency. A JPG will fill the empty area with white, which is why so many people think the tool failed when it actually worked.
Can I remove a background on the Canva mobile app?
Yes. The iOS and Android apps have the same Background Remover. Tap your image, tap Effects in the bottom toolbar, then tap BG Remover. The same paid-plan requirement applies. Desktop is easier for detailed edge work; mobile is fine for quick portraits and product shots with clean edges.
Can Canva remove backgrounds from multiple images at once?
No. Canva has no batch processing, so you remove backgrounds one image at a time. If you have fifty product photos to clear, doing them by hand in Canva will eat your afternoon. A dedicated tool such as remove.bg or Photopea handles bulk uploads far more efficiently.
Can Canva remove a watermark from an image?
Canva has no dedicated watermark remover, and the Magic Eraser is not built for it. Beyond the technical limit, removing a watermark from an image you do not own is a copyright issue. The correct, safe approach is to license the image properly or pick a free, properly licensed photo instead.
How do I make a Zoom virtual background in Canva?
Create a design at 1920×1080 px, add or remove backgrounds as you like, then export it as a PNG or JPG and upload it as your virtual background in Zoom’s settings. Canva also has ready-made templates sized for video calls, which is the fastest route if you would rather not build one from scratch.
Does the Background Remover work on videos?
No. The Background Remover only handles still images. To remove a background from a moving subject, you need video-focused tools made for that. Our video editing with AI tools course walks through that workflow.
That is the whole job, from upload to a clean transparent PNG. Do give it a try on one simple photo first, a single portrait or product shot, before you tackle the messy hair-against-a-crowd kind. Once the steps feel natural, you will be cutting out subjects in under a minute and wondering how you ever designed without it.
Ready to master the whole tool? Join the Canva Design Masterclass →