How to Design a Stunning Canva Presentation (2026)
A Canva presentation can look polished in five minutes — or fall apart in front of a live room because nobody told you which transitions to skip and which export format keeps your fonts. After 24 years of training in Singapore, I have seen both outcomes from the same software, often from learners sitting in the same workshop. This guide walks you through the workflow end to end: starting the file, picking a template you can actually edit, adding slides and transitions without overdoing them, designing for the room you will be standing in, and exporting cleanly to PowerPoint, Google Slides or PDF.
The short answer first: to design a presentation in Canva, log in, search “presentation”, pick a 16:9 template, replace the text and images with your own content, add slides with the plus button, apply one subtle transition across the whole deck, then click Present or download as PPTX or PDF. Easy. The rest of this article covers the details that decide whether your Canva deck looks professional in the room or amateur on the projector.
Want to go from theory to practice across pitches, training decks and posters? Our hands-on Canva design course in Singapore covers each format with a trainer who has built these decks in Singapore boardrooms for over two decades.
Why design your next presentation in Canva (and when PowerPoint still wins)
Canva is a browser-based design tool. Thousands of free presentation templates. Drag-and-drop editing. A built-in library of images, icons, charts and animations that would have cost you hundreds of dollars a decade ago. You do not need a design background to produce a decent-looking deck, and the file lives in the cloud so you can edit it from any laptop — your office desktop in the morning, your home laptop at night, the loaned machine at a client site. For one-off pitches, social-team decks, lecture slides, student work and posters, Canva is usually the fastest route from blank screen to finished deck.
PowerPoint still wins in three situations.
First, when the deck needs offline editing on a corporate laptop that blocks Canva or runs slow on browser-based tools. Many Singapore banks, government agencies and MNCs lock down browser-based design tools by default. If you are inside one of those firewalls, PowerPoint is what you have. The SkillsFuture credit scheme can still subsidise the related training, regardless of which tool your office allows.
Second, when the animation work is complex. Multi-step entrance animations, the Morph transition, triggered builds — these are still cleaner in PowerPoint than in Canva.
Third, when the deck will be handed over to a team that uses PowerPoint as their default. Every Canva-to-PowerPoint export loses some fidelity in fonts and effects, so designing in Canva and editing in PowerPoint means the second editor inherits a slightly broken file.
For most working professionals the answer is not one or the other. You design the deck in Canva because the templates save you hours. You export to PowerPoint when the corporate workflow demands it. We will cover that export round-trip in detail later in this guide. (If you are new to Canva itself and want the ground-floor tour first, our complete guide to using Canva walks you through the editor before you build your first deck.)
How to start a Canva presentation in 7 steps
This is the snippet-friendly version. The full workflow has more nuance and we cover the harder parts in the sections after this.
- Sign in to canva.com with email, Google or Microsoft. The free plan is enough to follow every step in this guide.
- Search for “presentation” in the search bar on the homepage. Pick the standard 16:9 format — it fits Zoom, Google Meet, Microsoft Teams and almost every projector in a Singapore meeting room.
- Pick a template from the gallery on the left of the editor. Filter by category (Business, Education, Marketing, Modern, Minimalist) and pick one close to your topic. You can change colours, fonts and layout later. What matters now is the underlying structure.
- Replace the text by clicking any text box and typing over it. Keep one main idea per slide. Resist the urge to fill every empty area with extra words. White space is doing useful work — leave it alone.
- Replace the images by clicking the placeholder and dragging in your own upload from the Uploads tab, or pick a new image from the Elements or Photos tab. Frames let you crop images into shapes without manually resizing.
- Add new slides by clicking the + Add Page button at the bottom of the editor, or right-click an existing slide and choose Duplicate Page to keep the same layout.
- Click Present or Share when you are done. Present runs the slideshow from your browser. Share lets you download the file as PDF, PPTX, MP4 video or a single PNG/JPG per slide.
That is the seven-step path. Most readers can finish a first draft of a 10-slide deck in under an hour using only these seven steps. The sections below cover the parts that decide whether the deck looks professional or amateur.

Picking a template you can actually edit without breaking the design
Canva has thousands of presentation templates and most of them look great on the gallery thumbnail. The problem starts the moment you try to edit one.
Think of a template like a shirt. Some shirts are made of stretch fabric — you can change the buttons, swap the collar, alter the sleeves and the shirt still looks like a shirt. Other shirts are tailored to one body and one outfit. Touch anything and the whole thing falls apart. Canva templates work the same way. Some are built as flexible layouts: swap colours, fonts and images and the slide still looks balanced. Others are built as locked compositions where the design depends on the original image, the original font weight and the original colour ratio working together exactly.
Three rules help you pick a template that will survive your editing.
Look for templates with empty space already in the design. A template that uses generous white space, or any single background colour, is forgiving. Whatever text and images you drop in will sit comfortably because the design was not relying on a specific photo to fill the visual weight. Templates that look like full-bleed magazine spreads with text overlapping a busy photograph almost always break when you replace the photograph.
Check the second and third slides, not just the cover. Designers spend their best effort on the cover slide because that is what sells the template. Click through to slide 5, slide 6, slide 7 before you commit. If those middle slides look thin or repetitive, the template will not sustain a 15-slide deck.
Match the template’s purpose to yours. A pitch deck template has hero slides for problem, solution, market, traction and ask. A lecture template has section-divider slides and content-heavy text layouts. A poster-presentation template has a single large slide for a research poster. Picking a wedding-invitation template and converting it into a sales pitch is technically possible. But you will spend the time you saved on template selection fighting the layout.
Once you have a template, customise the colours in the Styles tab on the left of the editor. Pick one accent colour and stick with it across every slide. Pick two fonts — one for headers, one for body — and stick with those too. The single fastest way to make a Canva deck look unprofessional is to use a different font on every slide because Canva put 1,000 fonts in front of you and they were all tempting. Two fonts. That is your budget.

Adding slides, transitions and animations (the parts that look amateur if overdone)
Adding new slides is straightforward. Click + Add Page at the bottom of the editor for a blank slide, or right-click an existing slide and choose Duplicate Page to reuse the layout. To rearrange slides, drag them in the slide panel at the bottom of the screen. To delete a slide, select it and press Delete on your keyboard.
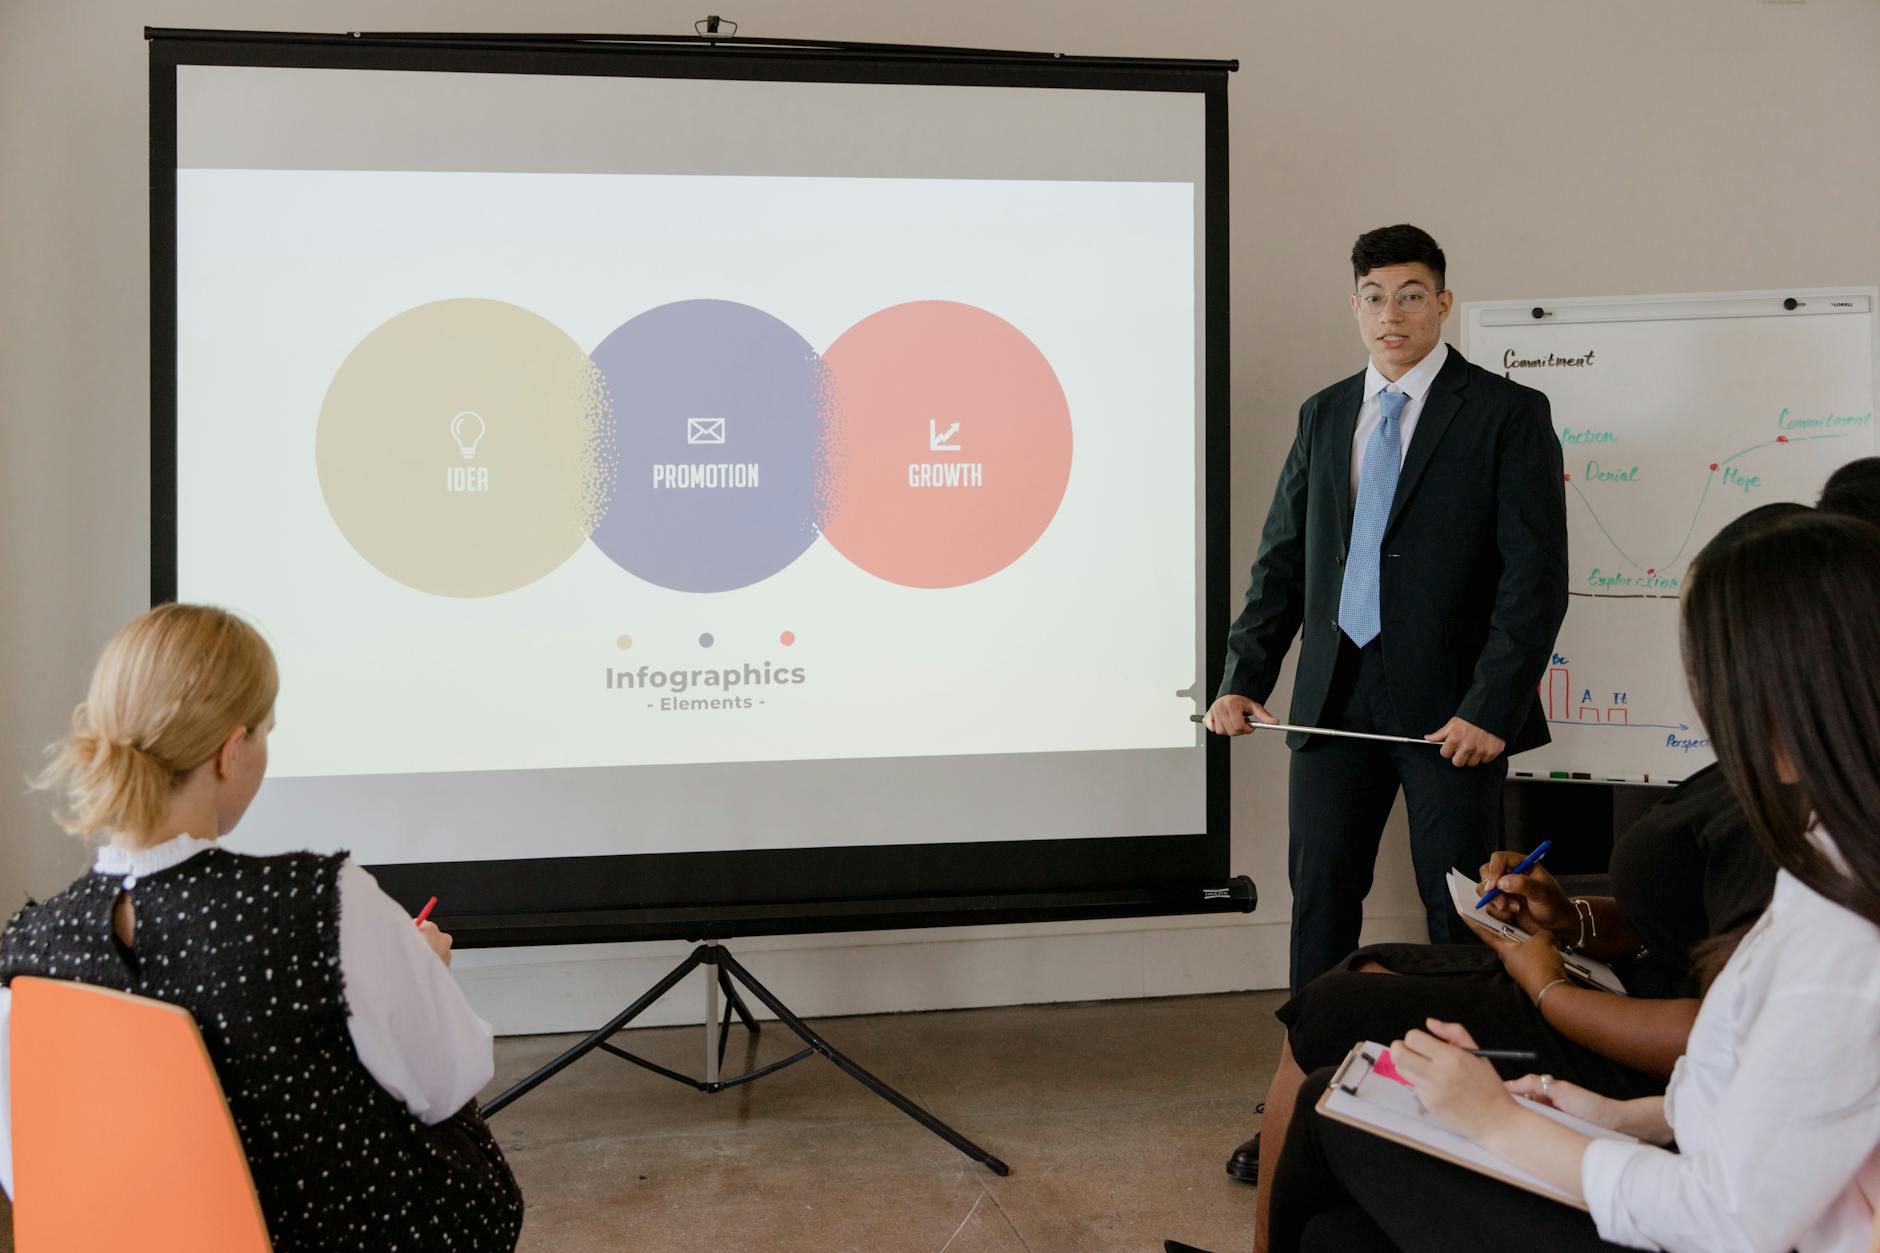
Animations and transitions are where Canva decks start looking amateur. Canva offers a generous list — Fade, Pop, Rise, Pan, Drift, Tumble, Block, Breathe, Neon, and several more — and the temptation is to use a different effect on every slide and every element. Resist that temptation.
Think of transitions like garnish on a plate. A sprig of parsley lifts the dish. Half a basil bush on top of it ruins the meal. The professionals you admire are using one transition (usually Dissolve or a slow Pan) across the entire deck, and animation on at most two elements per slide.
Apply a transition by clicking the slide background, then Animate in the top toolbar, then Page Animations. Pick Fade or Dissolve unless the brand explicitly calls for something more dramatic. Apply the same transition to every slide by clicking Apply to All Pages. Done.
Element animations work the same way. Click an element, click Animate, pick an effect, and Canva will animate that element on slide entry. The rule of thumb: animate the title and animate one image or chart per slide. Do not animate every bullet. Bullets that appear one by one feel pedagogical on a webinar and slow on a live stage where your audience is already ahead of you.
A separate trick that looks slick when done well is the duplicated-reveal sequence. Duplicate a slide three or four times, then on each copy hide one element so the audience sees the slide build up step by step as you click through. This works well for any process diagram, a financial waterfall, or a problem-solution sequence. Our Canva masterclass includes a full module on this technique, alongside the video editing with AI tools workshop for teams that want to push beyond static slides.
Designing for the room: business pitch, lecture, or poster session
The same template that works for a sales pitch will fail in a lecture hall. The same template that works in a lecture will fail as a research poster. Three rooms, three sets of rules.
Business pitch (10–15 slides, 10–20 minutes, small room). One idea per slide. Big numbers, big charts, minimal text. Your audience is reading the slide and listening to you at the same time, so the slide is a visual anchor, not a script. Pitch templates lean on hero numbers (“$2.4M raised”, “47% MoM growth”) and supporting photos. Keep transitions to Fade only. End with a single ask slide — what you want the audience to do next, in one sentence. I once spent four hours one evening coaching a team of engineers for a tender pitch that started the next morning. They were brilliant technically but tongue-tied when they spoke, and their slide deck was 38 slides of dense text. We threw most of it out, kept one number per slide, rehearsed the pauses, and they won the tender. The slides did not win the deal. The clarity behind the slides did.
Lecture or workshop (20–40 slides, 60–90 minutes, classroom). Structure matters more than visual polish here. Use section-divider slides every 5–7 content slides so your audience can orient themselves. Use a consistent footer with your name, the section title and the slide number — that helps both you and the audience track progress. Content slides can have more text than a pitch deck, but never put a paragraph on a slide. If you need to explain something in a paragraph, put a single keyword on the slide and explain it verbally. The slide is the headline. You are the article.
Poster session (1 slide, large format). This is its own format. In Canva, create a custom-size design (search “poster presentation” or set custom dimensions — A0, A1, or the standard 24″×36″ research-poster size). The slide functions as a self-contained document the viewer reads while you stand next to it answering questions. Title at the top, two or three columns of content below, charts at eye level, your name and affiliation at the bottom. Canva has dedicated poster-presentation templates that handle the structure for you.
If your work involves designing presentations across all three formats — pitches, training sessions and research posters — our digital transformation with AI tools programme also covers Canva alongside AI design tools, with hands-on exercises in each format.
Exporting: Canva to PowerPoint, Google Slides, and PDF
Most Canva decks are designed in Canva and presented somewhere else. PowerPoint on a corporate laptop. Google Slides for collaboration. A PDF that gets emailed to a client. Each export has its own gotchas.
Canva to PowerPoint (PPTX). Click Share at the top right, then Download, then choose PPTX. Canva packages every slide as an editable PowerPoint file. The catch: any Canva-specific font is substituted with a system font if the PowerPoint laptop does not have that font installed. Calibri, Arial and Times New Roman survive every export. Brand fonts and decorative fonts almost never do. The fix is to either stick to safe fonts in Canva, or open the exported PPTX on the target laptop and inspect every slide for substitution before you present. Canva element animations and transitions also flatten on export — the PPTX has the static slide content but not the Canva-style motion. PowerPoint’s own animation panel still works on the exported deck if you want to re-add motion there. For PowerPoint users running Microsoft 365, our guide to Copilot in PowerPoint covers how to rebuild a Canva-imported deck with AI assistance.
Canva to Google Slides. Google Slides cannot import a Canva file directly. The workaround: export from Canva as PDF (Share → Download → PDF Standard), then upload the PDF to Google Drive and use File → Import slides inside Google Slides. The result is one slide per page, but each slide imports as a single image rather than editable elements. For an editable Google Slides version, export from Canva as PPTX, upload to Google Drive, then open the PPTX file with Google Slides. Google will convert PPTX to native Slides format with most editing preserved.
Canva to PDF. This is the safest export. Use it when the deck only needs to be viewed, not edited. Two options in the download menu. PDF Standard is smaller and good enough for email or screen viewing. PDF Print is larger, includes crop marks and bleed, and is what you send a printer when you want a physical poster.
Canva to MP4 video. Useful when the deck has audio, video clips or built-in transitions you want preserved. Slower export — Canva renders the video server-side — but the file plays anywhere without needing Canva or PowerPoint installed. Good for kiosk displays, social media and YouTube uploads.

The Canva presentation mistakes I see in every training room
After running Canva and presentation-skills workshops in Singapore for years, the same mistakes show up in almost every deck submitted for review. Six of them, in order of frequency.
Too many fonts. Canva has 1,000+ fonts and learners use four or five in a single deck because each font looked good in isolation. The fix is the budget I mentioned earlier — two fonts, one for headings, one for body, and stay there.
Default template colours left in place. Most templates ship in purple, teal or coral. Decks that go to a corporate audience without changing the colour to match the brand look like a stock template, and your audience can tell. Change the accent colour in the Styles panel before you start filling in content. Your boss will be delighted you bothered.
Animation on every element. When every bullet flies in from a different direction, the audience watches the animation instead of listening to you. Animate sparingly. Title fade-in plus one chart reveal per slide is enough.
Text-heavy slides with small font. Canva’s default body text is often 16–20pt. That looks fine on a laptop. It becomes unreadable on a projector at the back of a Singapore meeting room. Bump body text to 24pt minimum, headers to 36pt minimum, and remove half the words on the slide.
Forgetting the projector aspect ratio. Most projectors and conference-room screens are 16:9. Templates designed in 4:3, A4 or square format will get cropped or letterboxed when projected. Pick 16:9 at the start and you avoid the problem. (If your office still has a 4:3 projector — yes, some do — change the template to 4:3 from day one. Do not try to convert later.)
Editing on the day of the talk. Canva is browser-based, which means flaky hotel wifi or a corporate firewall can lock you out of your own deck. Always export a PDF and PPTX backup the night before any important presentation and put both on a USB stick. I have watched too many presenters discover they have no internet 90 seconds before they go on stage.
When NOT to use Canva for a presentation
Canva is the right tool most of the time. Not always. Use PowerPoint or Keynote instead in these cases.
The deck needs offline editing on a corporate laptop with no internet. Canva is browser-based with limited offline support. You can present a downloaded copy, but editing in real time during a flight or a client meeting needs PowerPoint or Keynote.
The animation work is complex. Multi-step entrance animations, the Morph transition, triggered builds and per-bullet timing are all cleaner in PowerPoint. Canva’s animation panel has fewer options and less precise timing control.
The deck has to be handed over to a team that already uses PowerPoint. Every round-trip between Canva and PowerPoint loses fidelity. If the next person who edits the deck will be working in PowerPoint, design it in PowerPoint from the start.
The presentation is part of a WSQ-funded corporate training programme where the standard expectation is PowerPoint. The WSQ Basic PowerPoint course covers the format your corporate stakeholders will expect, and the WSQ funding can offset most of the course fee for eligible Singapore-based participants.
For everything else — pitches, lectures, posters, social media decks, student projects, internal updates that will be presented once and archived — Canva is faster, prettier and easier to learn than PowerPoint.
FAQ
Is Canva better than PowerPoint for presentations?
Canva is better when the look of the deck matters more than the animation control — pitches, posters, social-team decks, lecture slides. PowerPoint is better for offline editing on a corporate laptop, complex animations and any deck that will be handed over to a team that already runs on PowerPoint. Most working professionals end up using both. You design the first draft in Canva because the templates save you hours, and then you export to PowerPoint when the corporate workflow demands it.
Can I open a Canva presentation in PowerPoint?
Yes. Click Share at the top right of the editor, choose Download, then pick PPTX as the file format. Canva packages the deck as an editable PowerPoint file. Be careful — Canva-only fonts and effects will be substituted when PowerPoint opens the file on a laptop that does not have the original fonts installed. Always do a final review in PowerPoint before you present, especially if the deck has heavy brand fonts.
How do I add my own fonts to a Canva presentation?
Canva Pro users can upload custom fonts through the Brand Kit. Upload the .ttf or .otf file once and the font appears in every text dropdown across every design. Free Canva accounts cannot upload custom fonts, but the built-in library still has more than 1,000 free fonts to pick from. Pick two and stick with them. That is the budget.
Are Canva presentations free to download?
Yes. Free Canva accounts can download presentations as PDF, PPTX, MP4 and JPG without paying — as long as every element on the slide is free. Premium templates, premium stock photos and premium icons show a watermark until you upgrade to Canva Pro or pay per element at the point of download. For most one-off decks the free plan is enough.
How do I present a Canva slideshow without showing the editor?
Click Present at the top right of the editor and pick one of three modes. Standard runs a clean full-screen slideshow controlled by arrow keys or clicks. Presenter View shows your speaker notes and the next slide on your laptop, while the audience sees only the current slide. Autoplay advances slides automatically on a timer, which is useful for kiosks or social-media decks that loop.
Final word
Canva makes the design half of presentations much faster than PowerPoint ever did. But the design is only part of the job. The slide is a visual anchor for what you are saying — not a script to be read out. Pick a template you can edit without breaking it. Use one transition across the whole deck. Keep the animation light. Export to the format your audience will be watching from. That covers 80% of what separates a slick Canva deck from an amateur one.
If your next presentation is a corporate pitch, a lecture, a workshop or a poster session, the Canva Design Masterclass walks you through each format with hands-on exercises and live feedback from a trainer who has been doing this in Singapore for 24 years. I hope you’ll find this guide useful — do try it out on your next deck. Even one practised pass through the seven steps above will change how quickly your future presentations come together.