
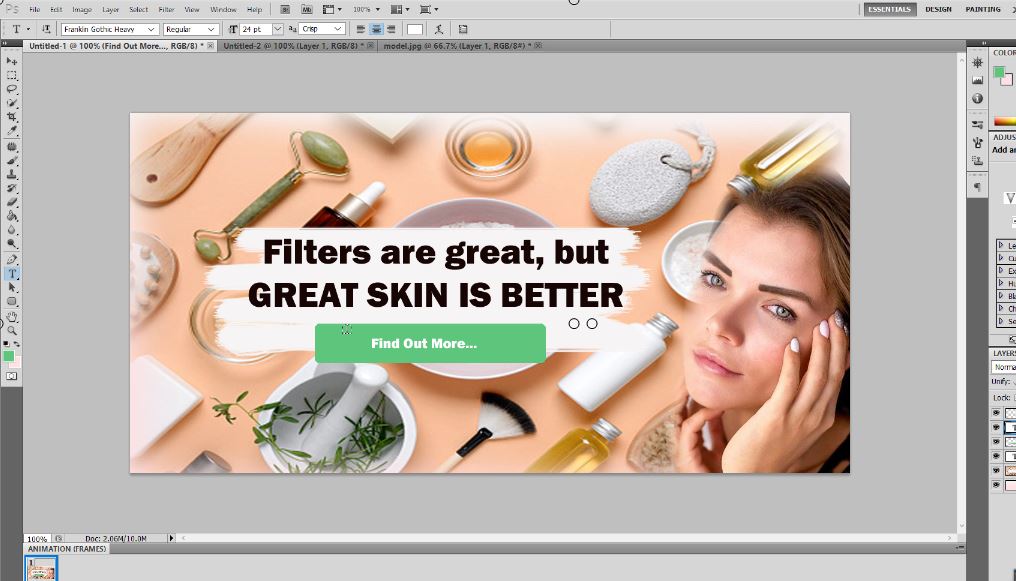
Did you know that Banners were created in Adobe Photoshop?
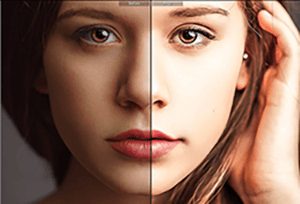
A website banner is the first thing a person sees when they open the website. The choice of Image, Blending of colors, Brightness, Contrast, Size, Aspect Ratio, Size & Resolution all matter a lot in making sure that the first impression is a lasting impression.
The overall effect should be attractive, informative, comfortable for the eye and help to convince the viewer to stay on your site longer.
In this article, we will be showing you the Concepts and Tools to start creating Show Stopper Website Banners using the most popular tool – Adobe Photoshop!
What is a Website Banner?
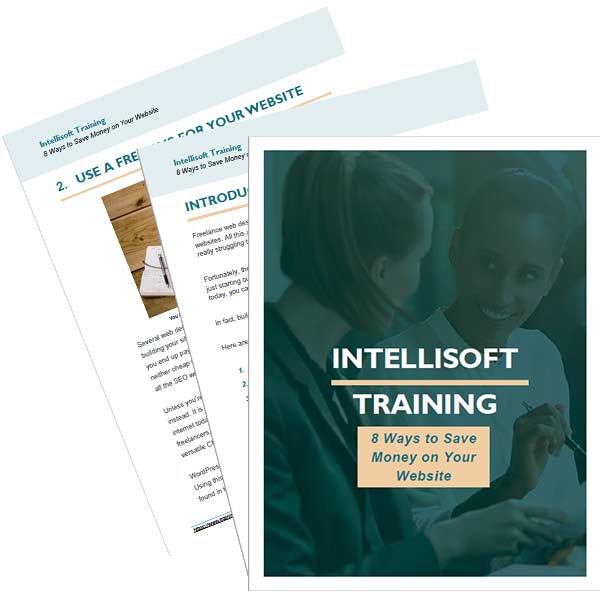
A banner is a graphic image. Depending on how and where it is used. you can give it different names – a website banner image, an email banner or even create banner ads to display in between articles, posts and to advertise on Google.
Website Banner |
|
Email Banner |
|
Banner Ads |
|
One of the best platforms to create any kind of banners is Adobe Photoshop.
![]()
You can create sophisticated & professional banners easily that will give you high quality results!
Here are few of the most commonly used Photoshop Tools in creating website banners:
- Paint Bucket Tool & Gradient Tool
- Selection Tools such as: Rectangular Marquee Tool, Lasso Tool, Quick Selection Tools
- Text Tool
- Layers, to embed and place multiple objects individually, and merge to blend them into a unique collage
- Brush Tool
- Twirl Effect
- Move Tool and many other can be used too.
How To Build a Website Banner in Adobe Photoshop
There are several simple steps to create an Awesome Website Banner
Define the size of the image, and its orientation.
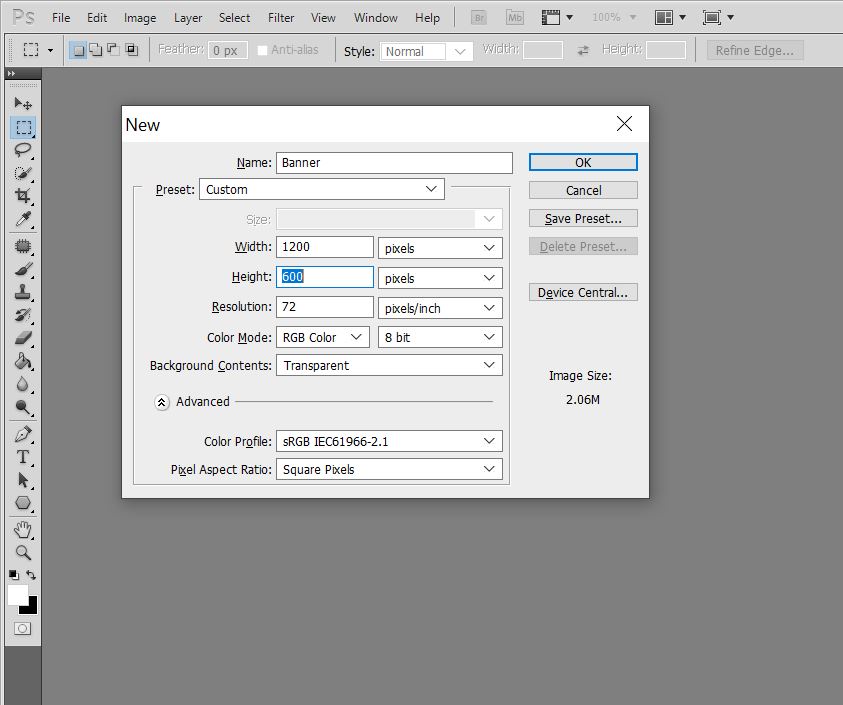 Firstly, are you creating the banner to appear in the entire length of the website, or are you creating it for a trade show. In this case of a website banner, choose a larger size – like 1200 pixels wide, and at least 480 to 600 pixels in height. You can choose a larger size or smaller size and define the canvas. Website resolution is best kept at 72 DPI.
For Print Banners used in Exhibitions and Tradeshows, you must stick to a 300 DPI resolution. The size should be specified in Inches or Centimeters.
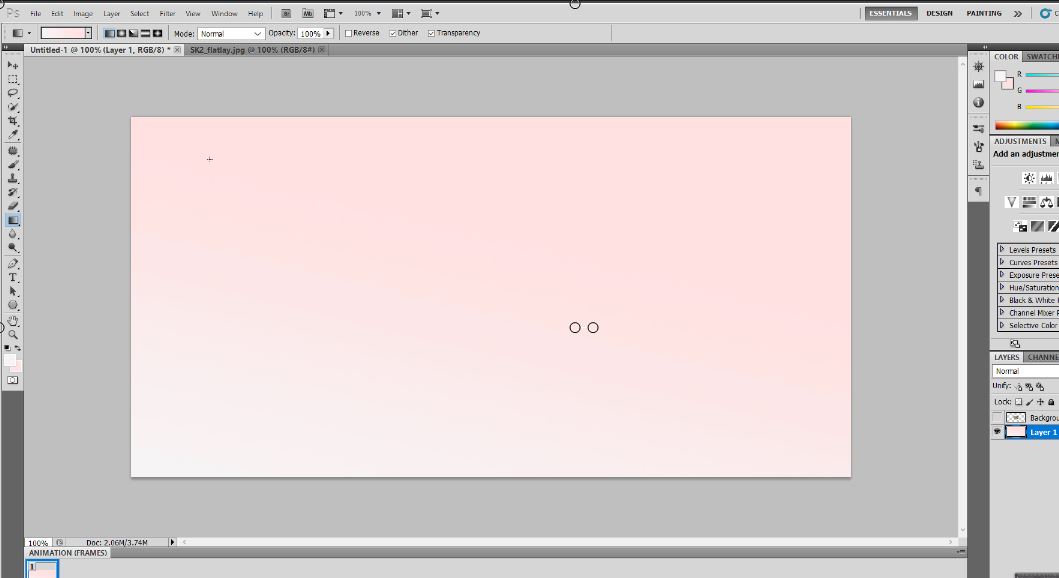
Set a Background Color For the Banner in Photoshop
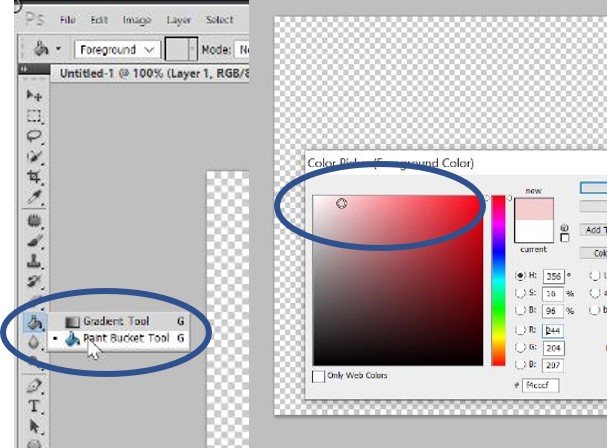
Secondly, You can choose from a solid color, or a gradient color scheme. A gradient shade shows you how the colors change and morph from one color to another. So from light to dark, from pink to blue, or from yellow to orange can really look dazzling. On top of this, you can add a circular or diamond or star effect to the gradient. You can use the gradient tool for this setup.
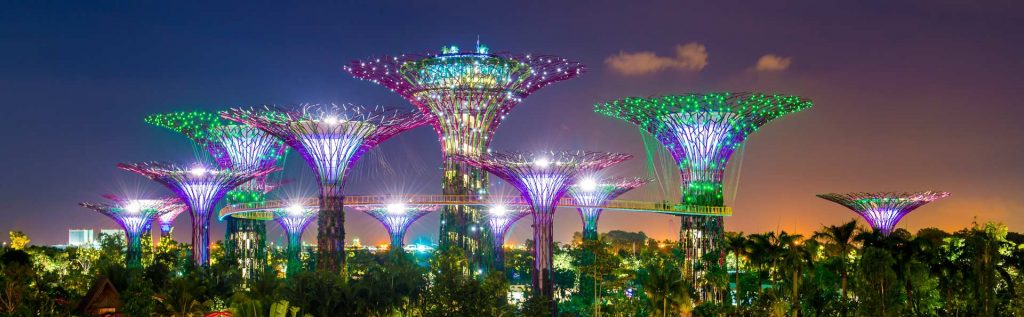
Find an appropriate Image To Be the Background of the Banner
Although you can purchase images, good quality images, with loyalty payment can be costly. But is is better to pay once, and have the peace of mind that you own the images or have purchased the rights to use them on your website.
Another option is to use Royalty Free images. There are several good quality image sharing websites like Pixabay, where you can find an image on almost any subject. And you don’t have to pay any royalty. But is is better to give credits to the photographer for their work done.
Take note that such good quality images will be pretty high resolution. You must learn to use Adobe Photoshop to resize the image.
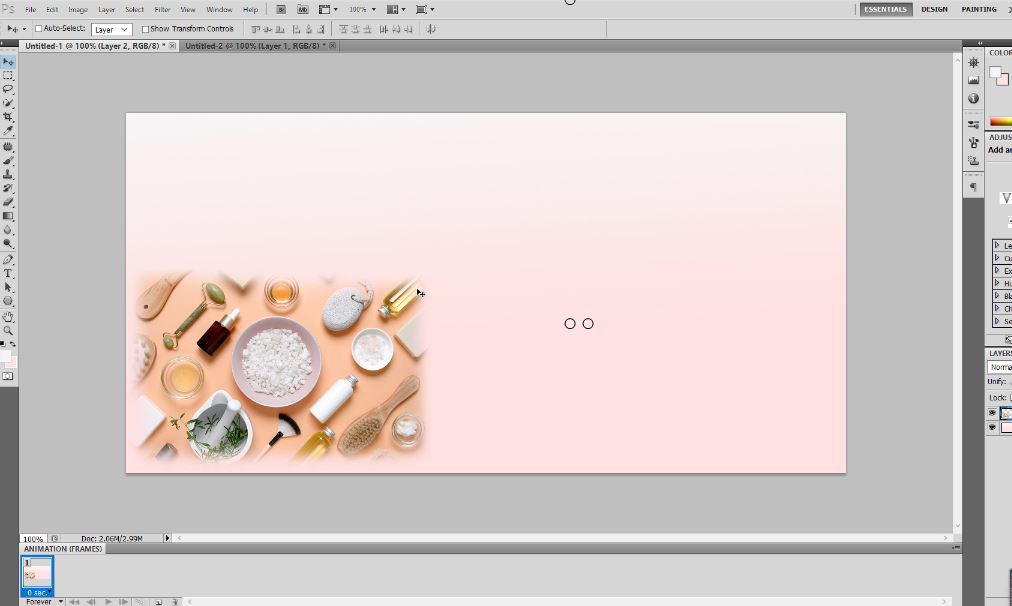
Merge Multiple Images In Photoshop
The next step in creating Website Banners Using Photoshop is to place the images. It is best to place each image on a separate layer. Then you can use the power of Photoshop to blend and merge images in multiple ways. You will be amazed at the colourful art effects you can create by blending images using Layers in Photoshop.
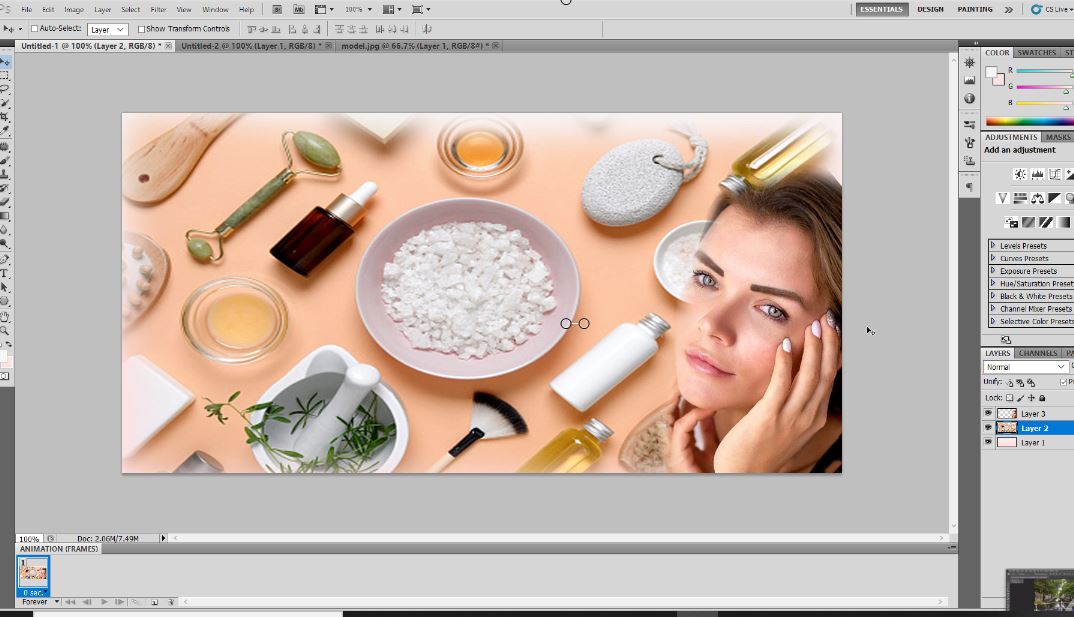
You can merge down, merge multiple layers, and merge selected layers in Photoshop. Do keep in mind that the layer on the top will partially or completely hide the layers below it. So for the different images to show, you have to use the blend modes c
Add Text & Buttons on the Composite Image For the Website Banner
Once you are happy with the merged image, it is time to add some text. Text should be placed separately, in its own layer. Text is a vector tool in Photoshop, so it can be scaled to a much bigger or smaller size, with no pixilation, and no loss in quality. You can specify the spacing, kerning, and a plethora of options to tweak the text. Finally, you can warp the text, place the text in a circle, or even create a path to place the text in a flowing shape of your choice.
Save the Banner as a GIF, PNG or JPG Image

Depending on where you are going to place the image, you will need to choose the type of extension. GIF and PNG are smaller in size, and are suitable for Web. If you intend to print the banner for use in an exhibition or trade show, you can save it as a JPG file. Additionally, take note that every time you save a JPG, it loses some quality. So always retain the original PSD file ( the native format of saving all the layers in a single file in Photoshop).
That’s it. Ta Da… Your final art work is now ready. You can go ahead and publish it on your website, in the EDM, or print it for your exhibition or trade show banner placement.
Finally, it looks like a lot of work, but these amazing tools are very easy to use & even beginners can learn to use them to explore the infinite ways you can create masterpieces. Now you are ready to Create Website Banners Using Photoshop. What are you waiting for?
Now is the time to Start Creating Your Own Website Banners Using Photoshop!
Click Here to Purchase Adobe Photoshop Software or Click Here to Attend the Adobe Photoshop Training at Intellisoft!
| Training Schedule | |
|---|---|
| 22, 23, 24 Jul 2026 | |
| 15, 22, 29 Aug 2026 | |
| 28, 29, 30 Sep 2026 | |
| 28, 29, 30 Oct 2026 | |
| 21, 22, 23 Dec 2026 | |
More importantly, Intellisoft Adobe Photoshop Training (3 Days) is eligible to:
- WSQ Funding (up to 80%-90% for Individuals & Companies)*
- SkillsFuture Credits for Singaporeans >25*
- Claimable for Absentee Payroll for Eligible Companies*
- SFEC Eligible course*
For more queries, or grant information, do not hesitate to contact us:
☎️ 6252-5033
📧 info@trainingint.com