How to Loop a PowerPoint Presentation on Repeat
Want a PowerPoint to play by itself and start over the moment it hits the last slide? You need two settings working together: automatic slide timings and a loop option. Turn both on and the deck will autoplay each slide, jump back to slide one, and keep going until someone presses Esc. Think of it like a clock hand — it sweeps round and simply begins again, no one needs to wind it. That is exactly what you want for an exhibition booth, a reception screen, or a display that has to run all day with nobody at the keyboard.
In a hurry? Set slide timings, tick Loop continuously until ‘Esc’, and you are done. Want to learn it hands-on, the way it works on a real machine? See the WSQ Basic PowerPoint course card just below the quick steps.
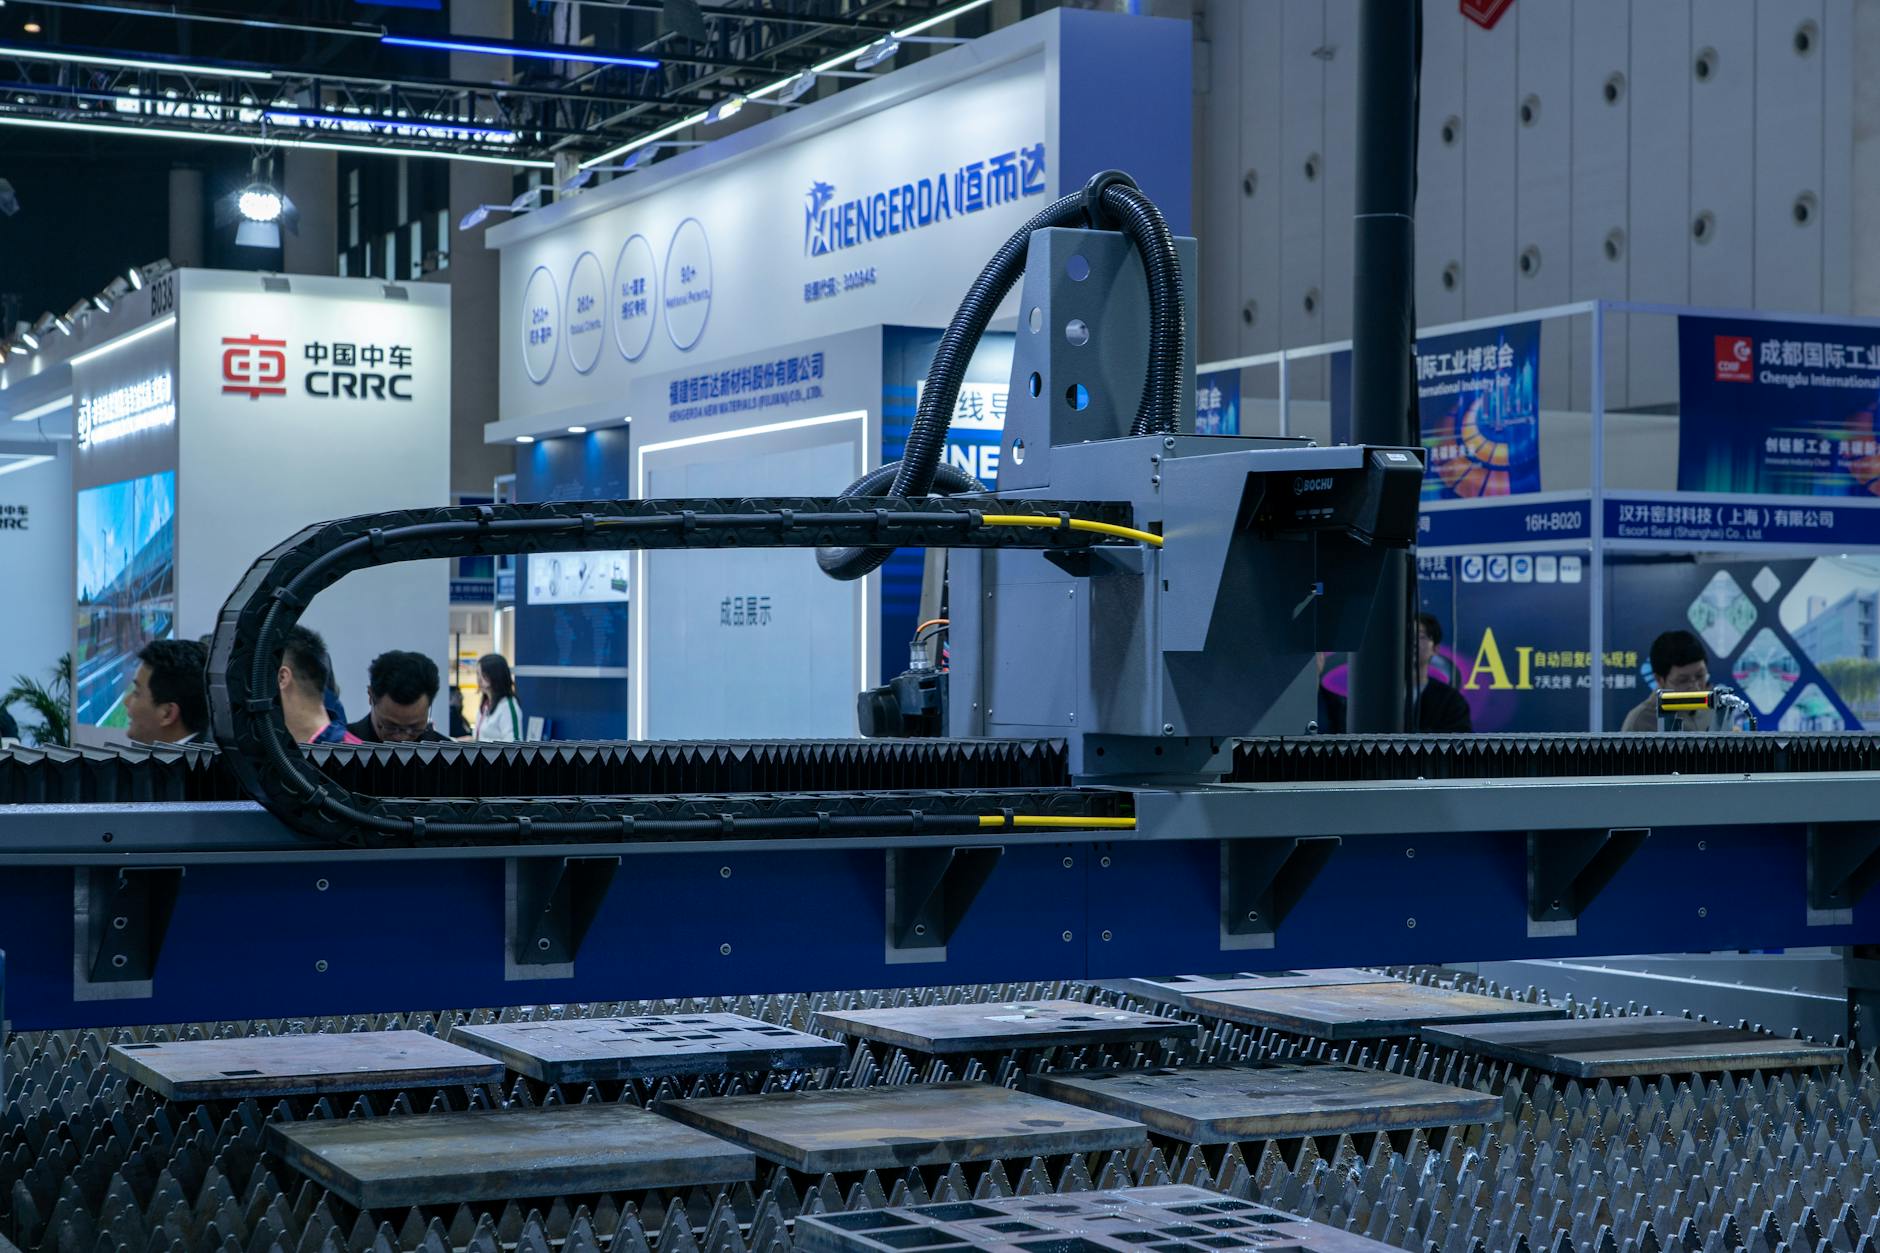
What “looping a PowerPoint” actually means
People use three different words for this, and they are not the same thing. Knowing which is which will save you a lot of confusion.
- Auto-advance means each slide moves on by itself after a set number of seconds, instead of waiting for a mouse click. This is controlled by slide timings.
- Loop means that when the show reaches the final slide, it jumps back to the first slide and plays again. This is a single checkbox.
- Kiosk mode is a locked-down show type that combines looping with a setting that ignores clicks and keystrokes, so a passer-by can’t accidentally skip your slides.
For an unattended display you almost always want all three. The two core steps below handle auto-advance and loop. Kiosk mode is an optional extra for public screens, and we will get to it.
Quick steps: loop a PowerPoint on repeat
Here is the whole job in five steps. The rest of the article explains each one properly.
- Select all your slides in the thumbnail pane. Click the first, hold Shift, click the last.
- Go to the Transitions tab. In the Timing group, uncheck On Mouse Click and check After, then enter the seconds each slide should stay on screen.
- Click Apply To All.
- Go to the Slide Show tab, click Set Up Slide Show, and under Show options tick Loop continuously until ‘Esc’. Click OK.
- Press F5 (or From Beginning) to start. The deck now advances on its own and repeats until you press Esc.
That is it. Five steps. Now let me explain why each one matters, because the order trips people up.
WSQ Basic PowerPoint Course
Hands-on PowerPoint training in Singapore – build decks that hold up on a screen, not just in a meeting room.
Step 1 — Set slide timings so slides auto-advance
A loop does nothing on its own if your slides still wait for a click. The timings are what make PowerPoint automatically advance the slide without you touching anything. This is the part most people miss when they ask how to autoplay a PowerPoint slide — they switch on the loop, walk away, and the deck just sits there on slide one.
- In Normal or Slide Sorter view, select the slides you want to time. To time the whole deck, select all of them.
- Click the Transitions tab on the ribbon.
- (Optional) Pick a transition such as Fade from the gallery so slides change smoothly instead of cutting hard.
- In the Timing group, find Advance Slide. Uncheck On Mouse Click and check After.
- In the After box, type how long each slide should stay on screen — for example
00:08.00for eight seconds. - Click Apply To All so every slide uses the same timing.
You can also give one slide its own timing. Select just that slide and change only its After value. That is handy when a single slide has far more to read than the rest.

Step 2 — Turn on “Loop continuously until ‘Esc'”
With timings in place your slides advance automatically, but the show still stops dead on the last slide. The loop setting is what sends it back to the start.
- Click the Slide Show tab on the ribbon.
- Click Set Up Slide Show. The Set Up Show dialog box opens.
- Under Show options, tick Loop continuously until ‘Esc’.
- Click OK.
That single checkbox is the answer to how to put your PowerPoint on a loop. Combined with Step 1, the presentation now advances slides automatically and repeats from the beginning, over and over, with nobody touching it. Extremely easy once you know the two pieces belong together.
Use kiosk mode for a hands-off, locked-down loop
The basic loop still responds to clicks and arrow keys. On your own laptop that is fine. On a public screen it is a problem, because anyone walking past can click and break the rhythm — and they will. Kiosk mode fixes that.
In the same Set Up Show dialog, under Show type, choose Browsed at a kiosk (full screen). This does two jobs at once: it loops the show, and it disables normal click-to-advance and right-click navigation. Visitors can look but not interfere. PowerPoint even ticks the loop option for you when you pick this mode. How good is that?
Use kiosk mode for trade-show booths, retail displays, and reception screens. Keep the plain loop for a deck you run on your own machine, where you might want to click back to a slide yourself.
Booth and reception screens are where this really matters. In 24 years of training in Singapore, I’ve noticed one pattern: the people who need looping are rarely the presenters. They are the ones setting up an exhibition stand at Suntec or a lobby screen on the morning of a launch, and they need that screen to behave for eight hours straight while they greet visitors. Kiosk mode is the setting that lets them walk away. Our WSQ-funded Basic PowerPoint course walks through this on a real machine, not just on slides. If you are also driving the screen yourself, knowing presenter view in PowerPoint helps for the times you do run the deck live.
Pick timings that actually work (and rehearse uneven slides)
A loop is only as good as its timings. Too fast and visitors can’t finish reading; too slow and the screen looks frozen, like it has hung. As a rough guide:
- Image-led product or promo slides: 5–8 seconds each.
- Reception or notice slides with a sentence or two to read: 12–20 seconds.
- A single “we’ll be back at 2pm” break slide: 30–60 seconds, since there is nothing to wait for.
When your slides hold very different amounts of content, one uniform timing rarely fits. Rather than guess each value, use Rehearse Timings (or Record, depending on your version) on the Slide Show tab. Click through the deck at the pace a real visitor would read it, and PowerPoint quietly records the actual seconds you spent on each slide. When you finish it asks whether to keep the timings. Choose Yes. Your loop now reflects how long each slide genuinely needs, slide by slide — like reading the room, except the room is one screen and you only have to read it once.

For a bulletproof unattended loop, export to video
If the screen is somewhere you can’t easily get to, or it runs on a device that doesn’t even have PowerPoint, export the deck to a video. Go to File > Export > Create a Video, choose a quality, confirm it uses your recorded timings, and save as MP4.
A video file removes the things that quietly go wrong with a live show: a Windows update prompt at 11am, a screen-saver kicking in, or a helpful colleague closing the slide show by accident. Most media players and smart displays loop an MP4 on their own, so you get a self-running, repeating display with nothing to babysit. The trade-off is that a video is fixed. You can’t fix a typo without re-exporting, so save this step for when the deck is final and signed off. Microsoft’s own guide to setting up a self-running presentation covers the export options in more depth.
Starting a deck from scratch for that screen? See how to make a PowerPoint presentation first. If unattended displays are a regular part of your work, the WSQ Basic PowerPoint course and our business presentation skills training — alongside the Word, Excel & PowerPoint with Copilot course — both cover building decks that hold up on a screen, not just in a meeting room.
Frequently asked questions
Why won’t my PowerPoint advance slides automatically?
Nine times out of ten, timings were never set, or On Mouse Click is still ticked. Open the Transitions tab, uncheck On Mouse Click, check After with a value in seconds, and click Apply To All. Then check Set Up Show: if Advance slides is set to Manually, switch it to Using timings, if present. Still stuck on one slide? That slide usually has a media clip or animation set to start “On Click” — open the Animations pane and set those to start After Previous instead.
How do I make a PowerPoint advance to the next slide after a video finishes?
Select the video, go to the Playback tab, and set Start to Automatically. Then on the Transitions tab, set that slide’s After timing to a little longer than the video’s length, so the slide holds until the clip ends and only then moves on. Set the timing shorter than the video and the slide will jump away before the video has finished playing, which looks abrupt.
Can I loop only some slides instead of the whole deck?
Yes. In the Set Up Show dialog, under Show slides, choose From … To … and enter the slide range you want. With looping switched on, only that range plays and repeats. This is genuinely useful when your file also holds title slides or backup slides that you don’t want on the public loop.
How do I loop an embedded video inside a slide?
Click the video, open the Playback tab, and tick Loop until Stopped. Tick Play Full Screen too if the clip is the only thing on that slide. That loops the video within its own slide. Combine it with slide timings if you also want the surrounding slides to keep cycling around it.
How do I stop or exit a looping presentation?
Press the Esc key. That is exactly what “Loop continuously until ‘Esc'” means — the show keeps repeating until Esc is pressed, then it drops you back into the editing view. In kiosk mode, Esc is still the way out, since ordinary clicks are disabled. If you exported the deck to a video, just stop it in whatever media player is running it.
Does looping work the same on Mac and PowerPoint for the web?
On Mac the steps match closely: the Transitions tab handles timings and Slide Show > Set Up Show holds the loop option, though a few labels differ. PowerPoint for the web is more limited — it applies transitions and timings, but the full Set Up Show loop and kiosk options live in the desktop apps. So for a reliable looping display, set it up in PowerPoint for Windows or Mac, or export to video.
That is the whole thing. Set your timings, tick the loop, and for a public screen reach for kiosk mode. I hope you’ll find this useful — do try it out on a short three-slide deck first, time the slides at five seconds each, and watch it cycle. Once you’ve seen it loop cleanly once, you’ll trust it for the real booth.
Ready to get hands-on? The WSQ Basic PowerPoint course walks through self-running displays, timings, and kiosk mode on a real machine, with WSQ funding for eligible Singapore professionals.