Canva Tutorial for Beginners: Your First Design
TL;DR: This Canva tutorial takes a complete beginner from a blank screen to a finished, professional-looking design in about 15 minutes. Sign up for free, pick a design type, start from a template, swap in your own text, colours, and photos, then download. No design background needed.
The five quick steps:
- Create a free Canva account at canva.com or in the app.
- Click Create a design and pick a type (or a custom size).
- Choose a template from the left sidebar.
- Replace the text, colours, and images with your own.
- Click Share → Download and save your file.
The rest of this guide explains each step in plain English, shows you the editor, walks through two real examples, and lists the beginner mistakes that quietly make designs look amateurish. In 24 years of training in Singapore, I have watched people who swore they “can’t design” produce a clean flyer in one sitting. You can too.
Canva Design Masterclass
Go from confident beginner to fast, professional output in a hands-on classroom course.
What is Canva (and why beginners pick it over Photoshop)
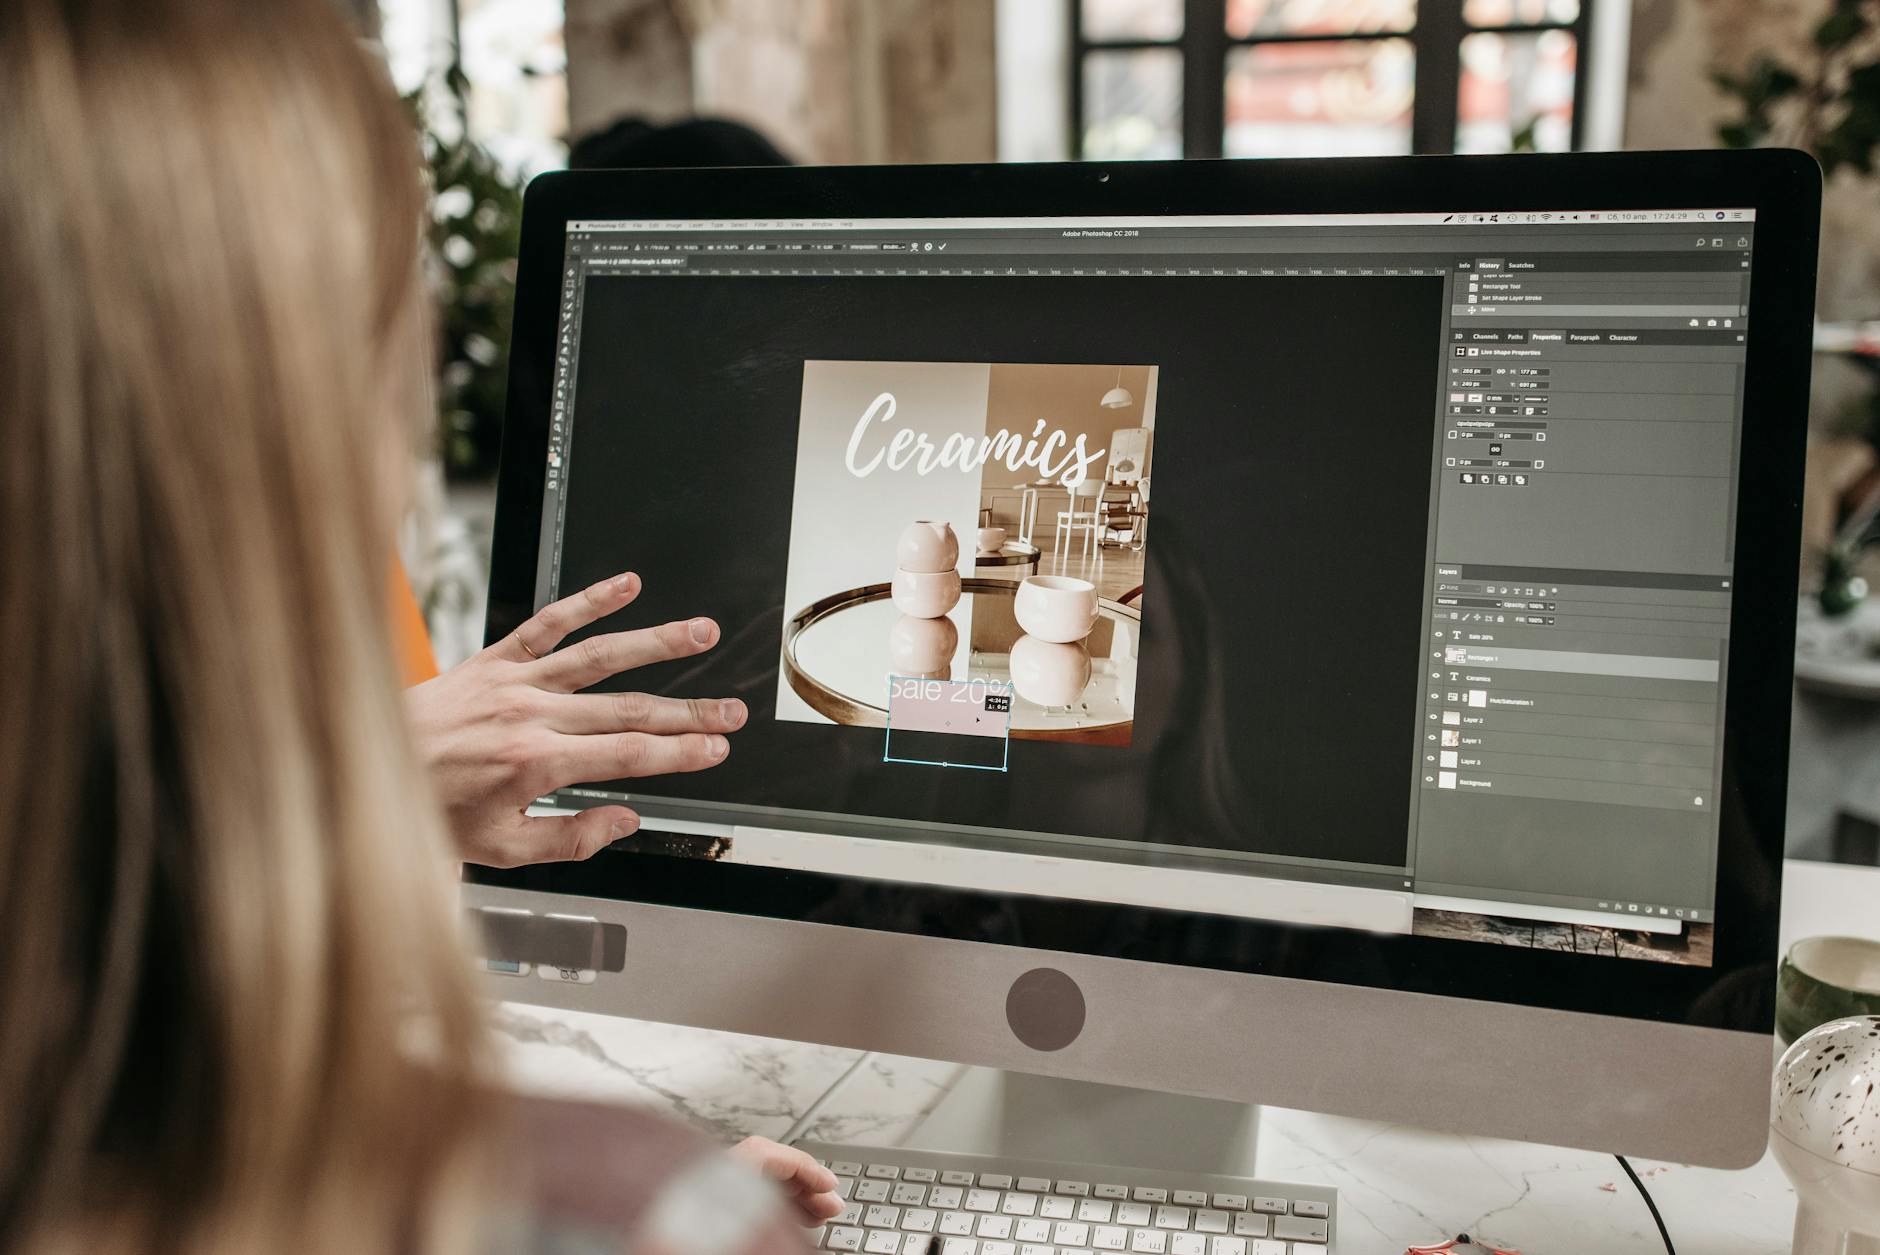
Canva is an online design tool built for people who are not designers. Think of it like a notebook full of ready-made pages: instead of starting with a blank sheet, you open to a page someone has already laid out beautifully, and you just change the words and pictures. You work in your browser or in a mobile app, dragging pieces around a page. That is the whole reason a beginner can produce something presentable on day one. Photoshop, with its layers and masks, rarely lets you do that.
What can you make? Social media posts, presentations, flyers, posters, resumes, business cards, logos, invitations, even short videos. Each one starts from a template, so you are editing a finished design, not building one from nothing.
The free plan covers most of what a beginner needs: thousands of templates, a big library of elements and photos, custom sizes, and downloads in common formats. Canva Pro, the paid plan, adds premium templates, the one-click background remover, brand kits that store your colours and fonts, and a much larger stock library. For learning the basics, the free plan is plenty. These are the Canva design basics every beginner starts with, and they form the foundation of any Canva 101 walkthrough.
Step 1: Create your free Canva account
Go to canva.com and click Sign up, or download the Canva app from the App Store or Google Play. You can register with an email address, a Google account, or an Apple ID. It takes under a minute. There is nothing to install on a laptop, because Canva runs in the browser.
You can technically use Canva without an account. Don’t. Create one. An account saves every design automatically and lets you pick up where you left off on any device. This is the first thing any Canva tutorial for beginners should insist on, because losing an hour of work to a closed tab is a miserable way to start.
When you first sign in, Canva may ask what you plan to use it for: work, personal, education, or a small business. Your answer only changes which templates it suggests first, so pick whichever is closest. If you are learning how to use the Canva app for beginners, the steps are identical on mobile and on the laptop.
Step 2: Pick a design type (or set a custom size)
From the homepage, click the Create a design button in the top-right corner. A menu appears with three ways to start:
- Choose a suggested size, such as Instagram Post, Presentation, Flyer, or Facebook Cover. Canva sets the correct dimensions for you.
- Set a custom size in pixels, millimetres, or inches, if you have an exact requirement. (If you are printing in Singapore, that usually means A4, not US Letter.)
- Upload a file or photo to edit something you already have.
For your first design, choose a suggested size. Picking “Instagram Post” or “Flyer” means the canvas is already the right shape, so you never have to think about dimensions. Beginners who start with a custom size often pick the wrong proportions and have to redo the whole layout later. Save yourself the rework.
Step 3: Start from a template — the beginner shortcut
Once your blank canvas opens, look at the left sidebar and click Templates. This is the single biggest shortcut for a beginner, because a template is a complete design that a professional already laid out. You are not creating from scratch. You are editing.
Scroll through the suggestions or use the search box to find something closer to your goal, for example “minimal sale flyer” or “blue business presentation”. When you find one you like, click it and it drops onto your canvas. To learn how to use a Canva template well, pick one whose layout is close to what you want, even if the colours and words are all wrong. Layout is the hard part. Text is the easy part.
If you are on the free plan, watch for templates marked with a small crown icon, which means it is a Pro template. Free templates are clearly labelled, and there are thousands of them, so you never need a paid plan to follow this tutorial.
Step 4: Learn the editor — your sidebar map
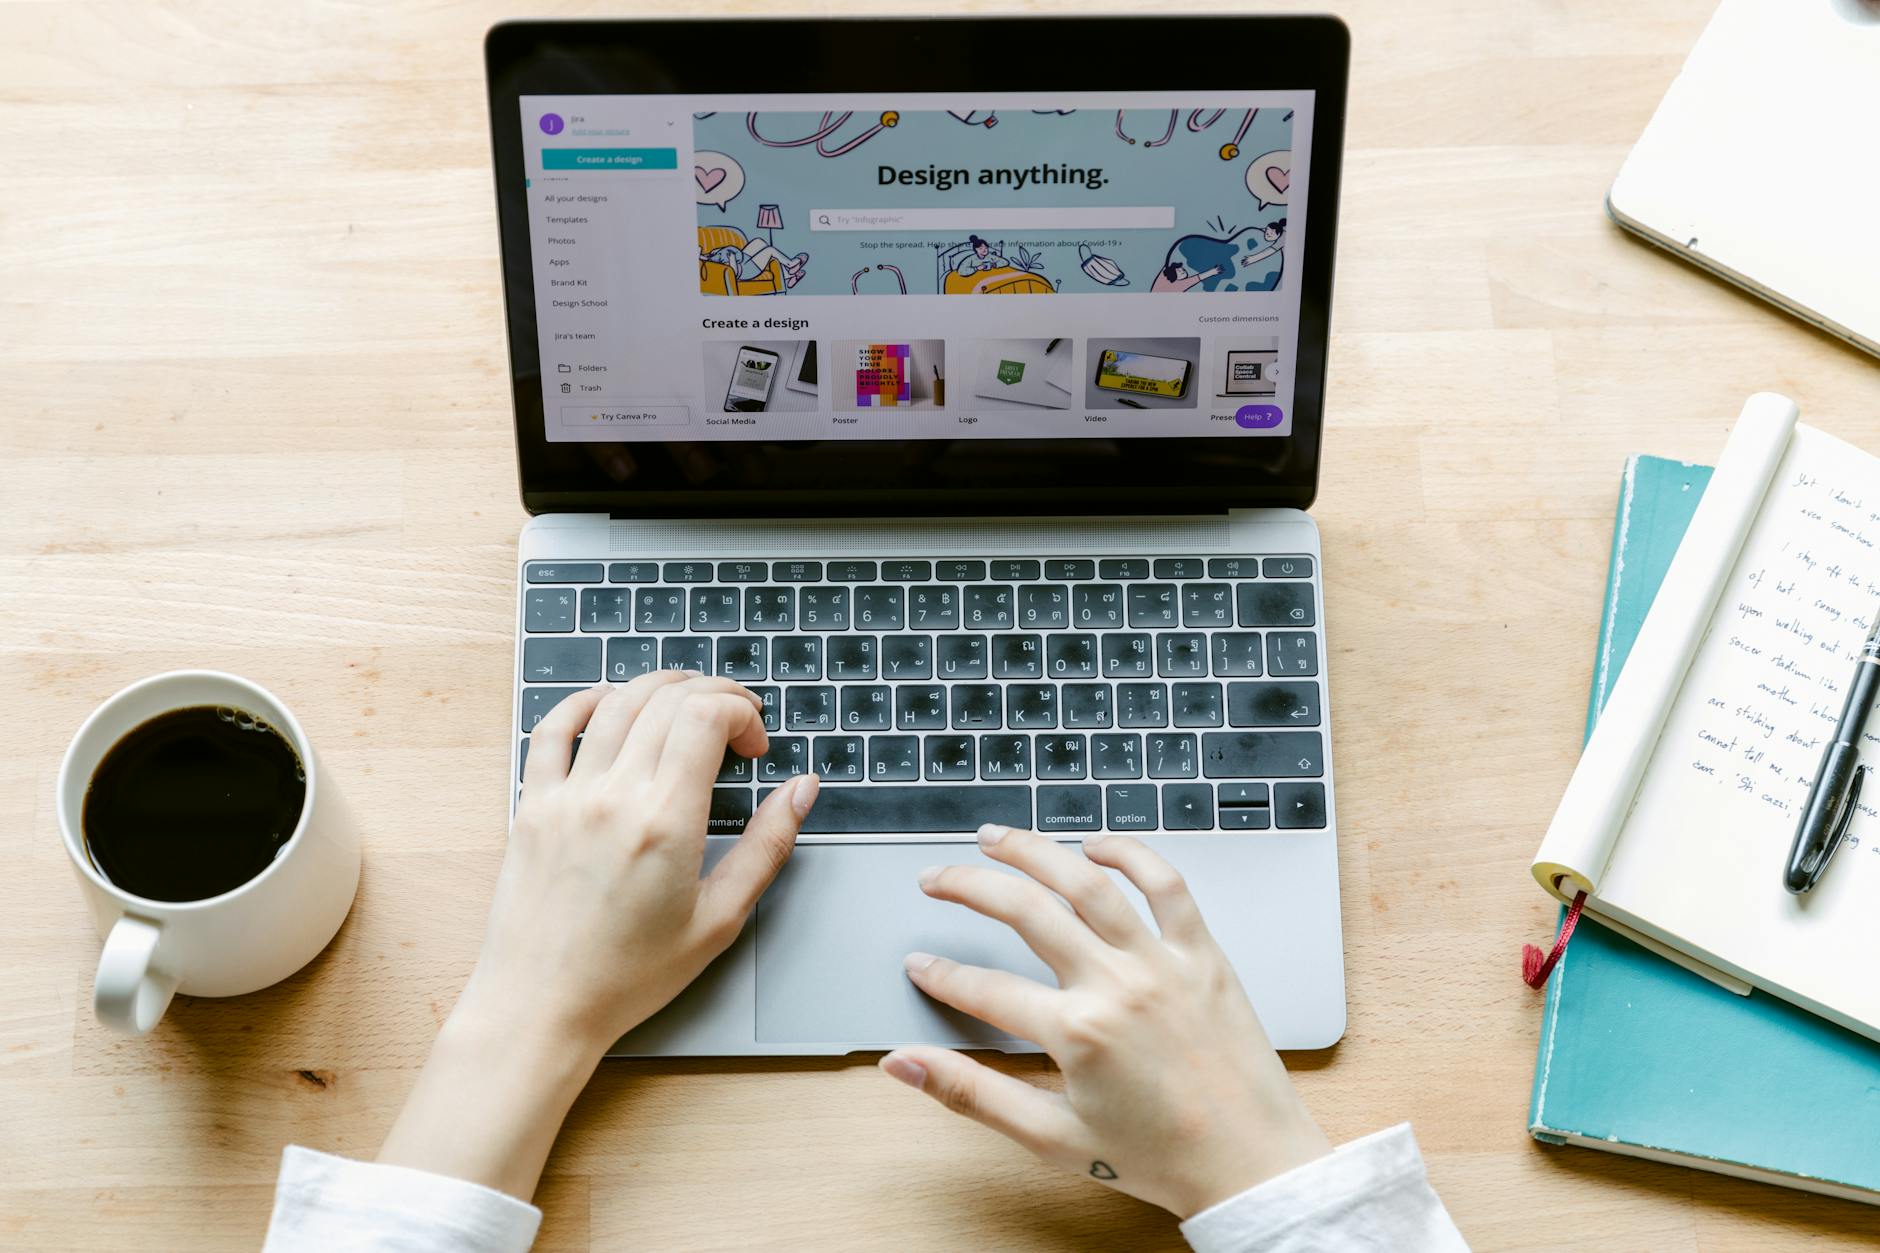
Everything in Canva happens around the canvas in the middle. The tools live in the left sidebar, and the formatting controls appear in the toolbar above the canvas when you select something. Here is what each sidebar tab does:
- Templates — pre-made layouts you can drop onto the page.
- Elements — shapes, lines, icons, illustrations, photos, charts, and frames.
- Text — headings, subheadings, body text, and pre-styled font combinations.
- Brand — your saved logos, colours, and fonts (a Canva Pro feature).
- Uploads — your own images and videos, once you add them.
- Draw — freehand pen and highlighter tools.
- Projects — everything you have created or started before.
Spend two minutes clicking each tab to see what is inside. That short tour is the difference between using Canva effectively and hunting for the same button every single time. If you want the full feature reference rather than this hands-on walkthrough, see our companion complete guide to using Canva, which covers every panel in depth. This Canva design tutorial keeps the focus on getting one design finished.
Step 5: Customise it — text, colours, photos, and the background remover
Now make the template yours. Work in this order, because it is the fastest path for a beginner:
Edit the text. Double-click any text box to select the words, then type your own. With the text selected, the top toolbar lets you change the font, size, colour, alignment, and spacing. Keep to one or two fonts for now.
Change the colours. Click an element or the background, then click the colour swatch in the toolbar. A panel opens on the left where you can pick a new colour or paste a brand HEX code. Match the colours to your business or event so the design feels intentional, not accidental.
Swap in your own photos. Click Uploads, then Upload files, and choose images from your device. Drag your uploaded photo onto a frame in the template and it snaps into place. Double-click to reposition or zoom.
Remove a background. A common job is putting a product or a person on a clean background. To remove a background in Canva, click the image, choose Edit image, then Background Remover, and the background vanishes in about two seconds. How good is that? This particular tool sits in Canva Pro, but it is the one most beginners upgrade for.
Step 6: Build your first design from scratch (two worked examples)
Once editing templates feels comfortable, try building from a blank page. Here are two of the most common beginner projects.
Example A — a one-page flyer. Create a design and choose Flyer. Add a background colour or photo from Elements. Add a large heading from Text for the event or offer, a smaller line for the date and details, and a button shape with a call to action. Drop in a logo from Uploads. The goal of learning how to use Canva to make a flyer is not artistry. It is a clear hierarchy: the most important words are the biggest.
Example B — a presentation slide. Create a design and choose Presentation. Use the Text tab for a title and three bullet points, and add one supporting image or icon from Elements. Click Add page at the bottom to build the next slide. Knowing how to use Canva to create a presentation comes down to one rule: one idea per slide, large text, and plenty of empty space. For a deeper walk-through, see our guide on designing a presentation in Canva.
A quick story on why the slide deck matters more than people think. One evening a senior director walked into our office. His firm had submitted a big technical tender, and the client wanted to hear the proposal from the engineers who would actually do the work, not from him. Brilliant engineers, but tongue-tied. They trembled. We coached them for several hours that night, including how to build a tight, simple slide deck, and they presented the next day and won the deal. A clean deck didn’t win it alone, but a cluttered one would have worked against them. Your design carries your message. Make it easy to follow.
Both examples use the same three building blocks: text, elements, and uploads. That is why the editor map in Step 4 matters more than memorising any single feature.
Step 7: Download, share, and collaborate
When your design is ready, click Share in the top-right corner, then Download. Choose the right file type:
- PNG — best for screens, social media, and crisp graphics.
- JPG — smaller files, good for photos and email.
- PDF Standard — for documents you will share digitally.
- PDF Print — for anything going to a printer, at higher resolution.
- MP4 Video / GIF — for animated designs.
For most social posts, PNG is the right choice. For a flyer you will print, choose PDF Print and tick the high-quality option. This sounds like a small detail, but choosing the wrong format is the most common reason a beginner’s design looks blurry once it leaves Canva. Get it right here and you save yourself an embarrassing reprint.
To collaborate, click Share, enter your teammates’ email addresses, or copy a share link. They can edit in real time, which is handy when a team is working on the same poster or deck and your manager wants changes before lunch.
Canva on your phone vs your laptop
The Canva mobile app and the desktop version share the same account and the same designs, so anything you start on one appears on the other within seconds. They are not identical, though, and knowing which to use saves real frustration.
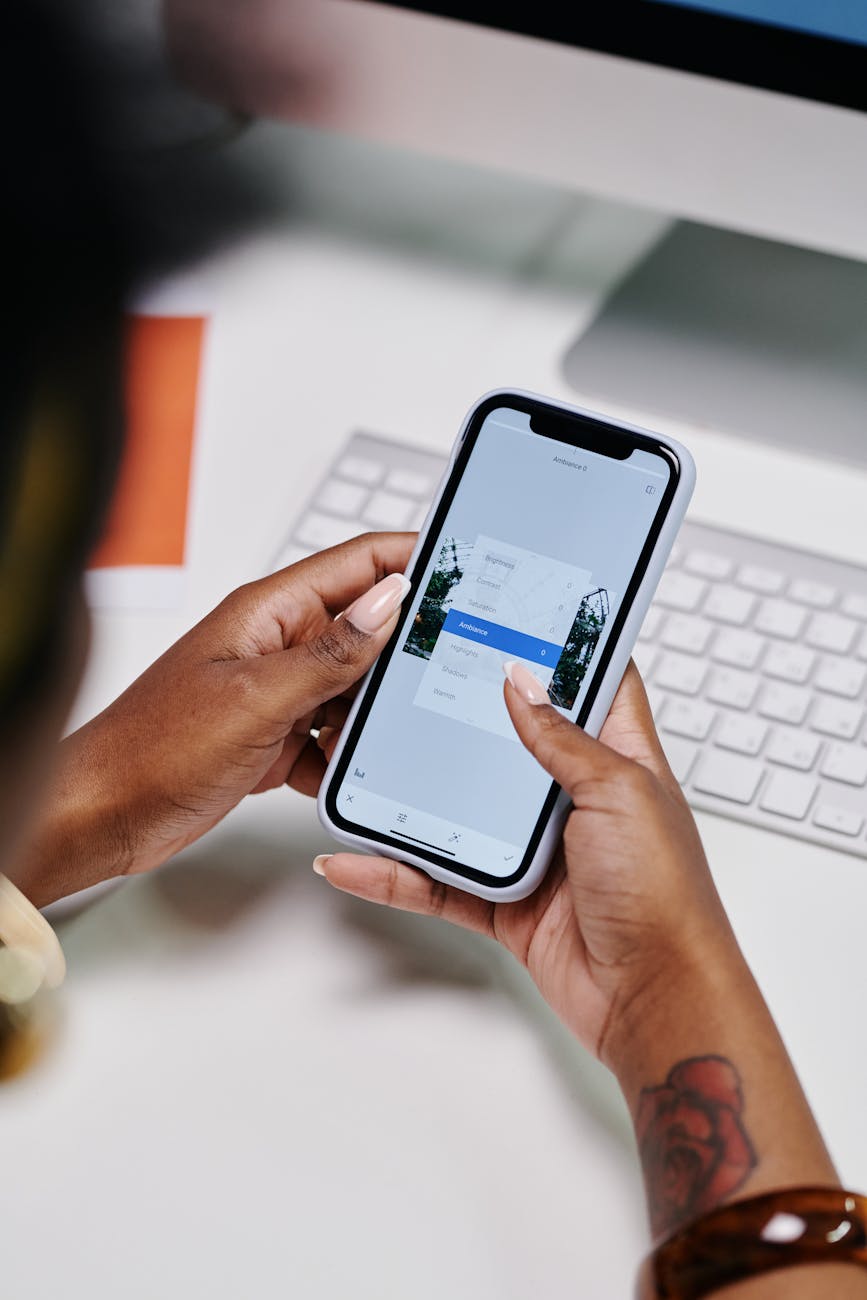
Use the phone app for quick edits, posting straight to social media, and designing on the go. The touch interface is good for resizing and rearranging, and the camera makes it easy to drop in a photo you just took. Learning how to use Canva on your phone is worth the few minutes it takes, because most social content never needs a laptop.
Use the laptop or desktop for anything detailed: long presentations, multi-page documents, precise alignment, and bulk work. The bigger screen and a real mouse make fiddly adjustments far quicker. A practical rhythm is to build on the laptop and do small touch-ups on the phone while you are on the MRT.
5 beginner mistakes that make designs look “off” (and the fixes)
Most amateur-looking designs fail for the same handful of reasons. Fixing these does more for your results than any advanced feature, and it is exactly the part of Canva training that beginners skip.
- Too many fonts. Stick to one or two. A heading font and a body font is plenty. A third font usually makes a design look chaotic.
- Nothing is aligned. Use Canva’s purple alignment guides that appear as you drag. Edges that line up read as professional. Edges that are slightly off read as careless, and people notice without knowing why.
- Exporting at low quality. Downloading a print flyer as a small JPG makes it blurry. Match the format to the destination (Step 7).
- Ignoring white space. Beginners fill every gap. Empty space gives the eye somewhere to rest and makes the important content stand out.
- Over-editing a good template. Templates are balanced by a designer. Change the words, colours, and photos, but resist dragging everything around until it looks worse than when you started.
Fix these five habits and you have learned how to use Canva effectively. This is also where structured practice pays off. After 24 years of teaching, I see the same pattern repeatedly: people are over-trained on theory and under-trained on application. The fix is always the same — build real things, not practice ones.
Many of these foundations are also recognised in national upskilling schemes — Singapore’s SkillsFuture initiative funds digital-skills training precisely because employers value people who can produce their own design assets.
Frequently asked questions
Is Canva free?
Yes. Canva has a genuinely useful free plan that covers most beginner needs: thousands of templates, a big element and photo library, custom sizes, and downloads in common formats. Canva Pro is the paid plan, and it adds premium templates, the one-click background remover, brand kits, and a larger stock library. You can follow this entire tutorial on the free plan and upgrade later, only if a specific Pro feature like the background remover becomes part of your weekly routine. Most beginners stay free for months.
How long does it take to learn Canva?
Most beginners make a usable design within their first 15 minutes, because templates do the heavy lifting. Getting comfortable with the editor, text, and image tools usually takes a few hours of hands-on practice spread over a week. Building a clean design from a blank page, without a template, takes longer. But you do not need that level to create good-looking everyday graphics. Consistent practice on real projects beats watching tutorials passively, every time.
What is the best way to learn Canva fast?
Start from a template, change one thing at a time, and build a few real designs you actually need, such as a social post and a flyer. Hands-on repetition teaches far more than reading. A structured Canva 101 course or training removes the trial-and-error stage by showing you the right order to do things and the shortcuts experienced users rely on. That is why guided learning is faster than figuring it out alone, especially if your job suddenly requires it.
Can I use Canva on my phone?
Yes. The Canva app works on both iPhone and Android, and it shares your account and designs with the desktop version automatically. The phone app is great for quick edits and posting directly to social media, while a laptop is better for detailed or multi-page work. Many people build on a laptop and touch up on their phone, since the two stay perfectly in sync.
How do I download a Canva design in high quality?
Click Share, then Download, and choose the file type that matches where the design is going. Use PNG for screens and social media, and PDF Print for anything you will physically print. For print especially, tick the high-quality or high-resolution option before downloading. Choosing the wrong format, such as a small JPG for a printed flyer, is the most common reason a finished design looks blurry. One extra click saves the reprint.
Do I need any design experience to use Canva?
No. Canva is built specifically for non-designers, and templates handle the parts that normally take training: layout, spacing, and font pairing. Your job is to swap in your own words, colours, and images. If you can use a word processor, you can use Canva. The “5 beginner mistakes” section above covers the small habits that close most of the gap between an amateur and a polished result.
If you would like to go further than the basics, our hands-on Canva Design Masterclass takes you from confident beginner to fast, professional output. If you already edit video or want to push Canva further, our Video Editing with AI Tools and Digital Transformation with AI Tools courses extend the same skills into motion and AI-assisted workflows. I hope you found this useful. Open Canva, pick a template, and make one real design today. Give it a try.
Course CTA: Canva Design Masterclass — our hands-on classroom course covers everything in this guide and more, from templates and brand kits to the background remover and exporting for print. WSQ-funded for Singapore-based participants.