Want to use Canva properly at work — decks, social posts, flyers and team comms? Our Canva Design Masterclass in Singapore is WSQ-funded and SkillsFuture-eligible: a one-day, hands-on class for working professionals.
Here is the short version. To use a Canva template, open Canva, search for a template that fits what you need, and click Customise this template. Make a copy first, so the original stays clean. Then edit the text, swap in your own images and colours, resize the design for your platform, and download it as the right file type: PNG or JPG for screens, PDF for print. That is the whole loop. The rest of this guide walks through each step so the template ends up looking like your work, not someone else’s.
Think of a template like a serviced apartment. The walls, the wiring, and the furniture are already there. You just move your own things in. That is why templates are the fastest way into Canva: the layout, the font pairing, and the colour scheme already work, and your only job is to replace the placeholder content with yours. Do it well and you have a polished result in minutes. Do it carelessly and you overwrite the original, fight locked elements, or export a blurry file. In 24 years of training in Singapore, I have watched beginners get stuck in the same three spots every time, and I will point them out as we go. If you have never opened the tool before, the complete beginner’s guide to Canva covers sign-up and the editor first.
What Canva templates are (and why start from one)
A Canva template is a pre-built design you can edit: a presentation deck, an Instagram post, a flyer, a resume, a poster, a video, and so on. Each one is a starting layout with placeholder text, images, colours, and fonts arranged by a designer. When you open it, nothing is locked to that arrangement. Every piece is yours to change.
Starting from a template instead of a blank page solves the hardest part of design for most people. The spacing, the font sizes, the colour balance — all decided for you. You fill in the blanks instead of making a hundred small design decisions you are not trained to make. That is why canva templates and canva designs templates are among the most searched starting points in the tool. A manager who needs a townhall slide by 3pm does not want a design education. They want a good-looking deck, fast. A template gives them that.
How to find the right Canva template
There are three reliable ways to find a template inside Canva:
- Browse from the homepage. After you log in, the homepage shows categories such as Presentations, Social Media, Posters, Docs, and Videos. Pick the one that matches your goal.
- Use the Templates page. Select Templates in the side menu to browse the full library by type and topic.
- Search directly. Type what you want into the search bar, for example “instagram story sale” or “one page resume”. This is usually the quickest route.
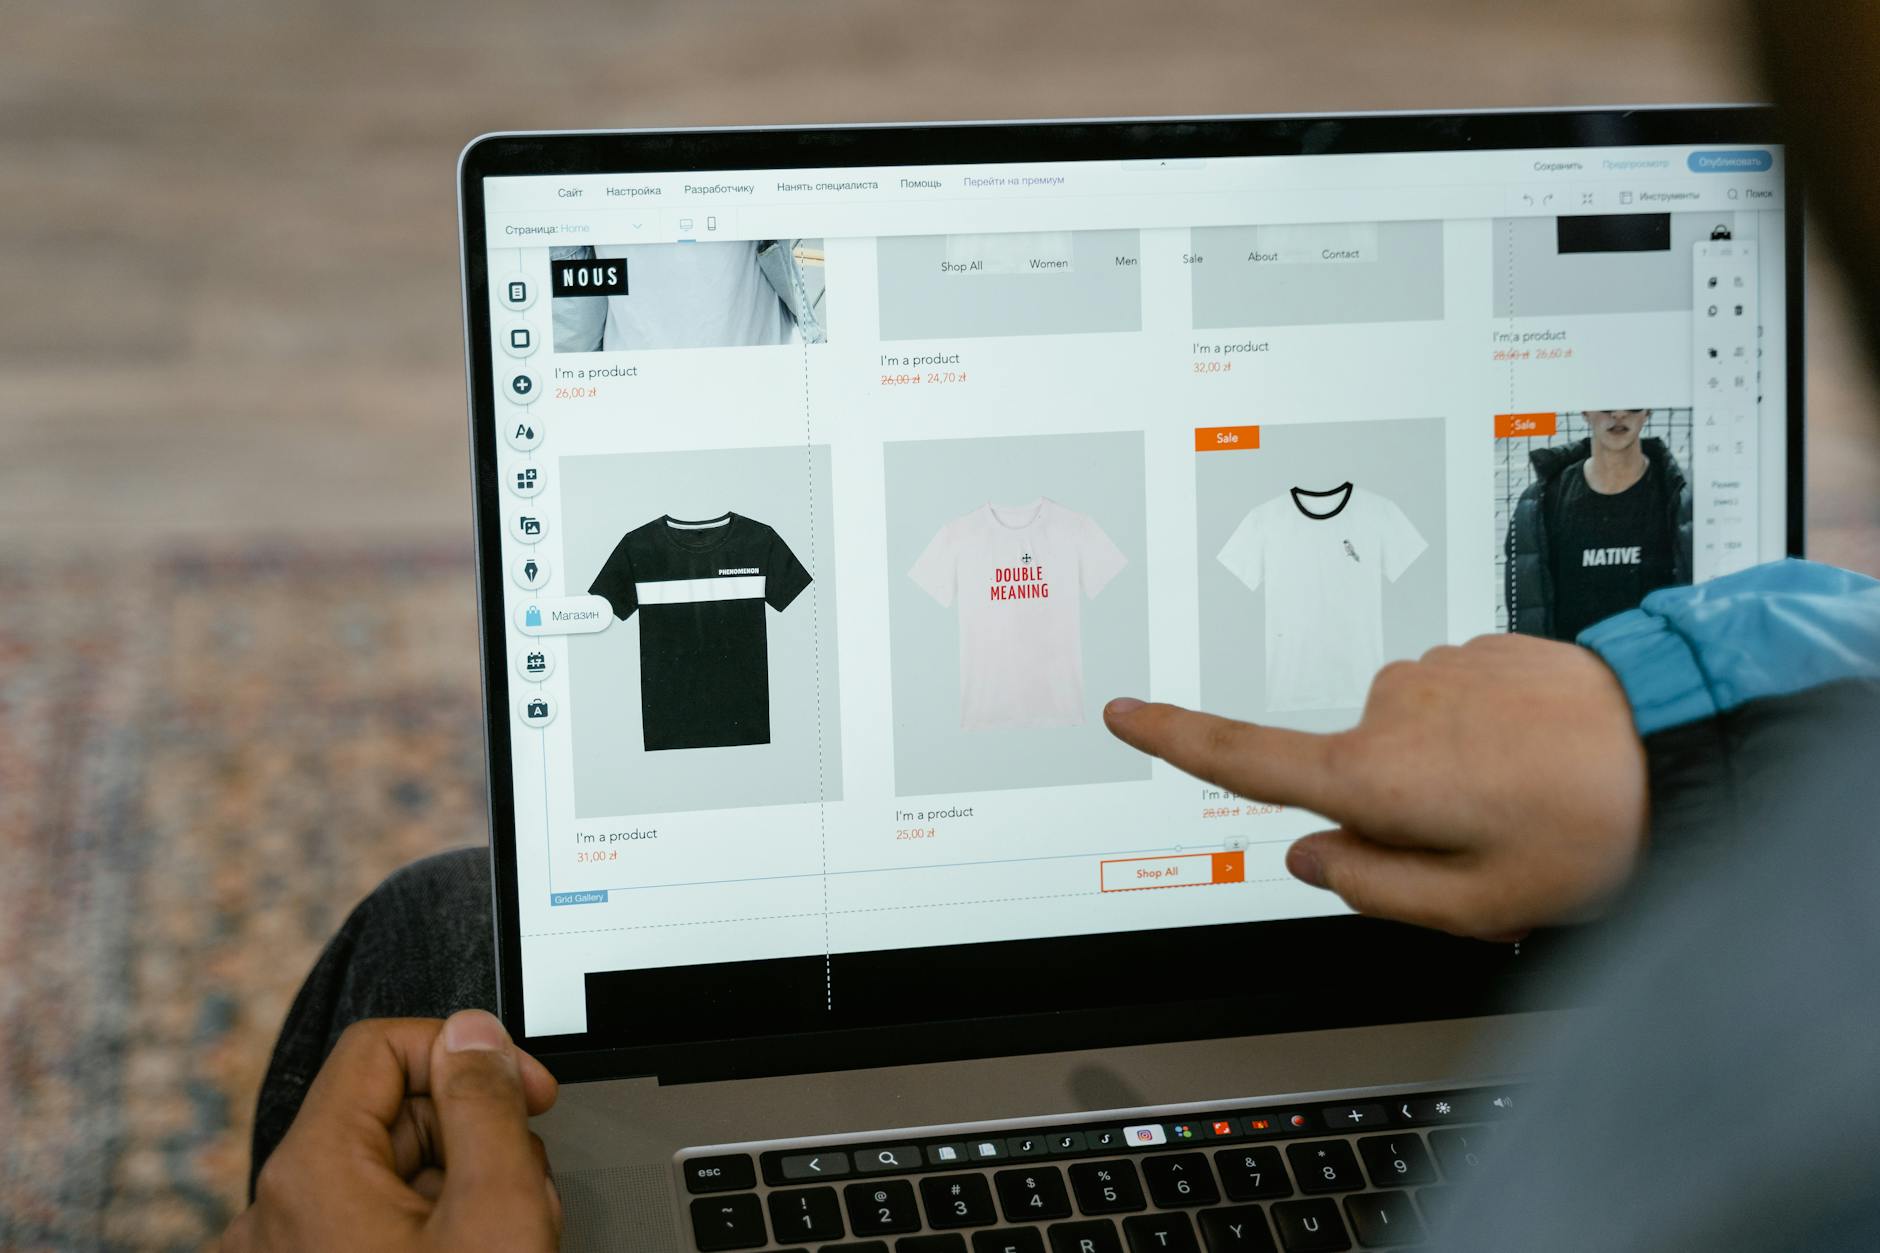
Once results appear, narrow them with the filters. You can filter by price (to show free templates only), by colour, by style, and by format. Filtering by price is the simplest way to see only the canva templates free options if you are not on a paid plan. Hover over any thumbnail to preview it, and pick a template whose layout matches the amount of text and number of images you actually have. A template built for three bullet points will fight you if you have ten. Choose the right size of box and the work gets easier straight away. Canva’s own template library is searchable by all of these filters.
Open the template and make a copy first
This is the step most beginners skip, and it is the one they regret. When you find a template you like, click it and select Customise this template. Canva opens it in the editor.
Before you change anything, protect the original. If you opened the template from the library, editing creates your own copy automatically, so you are safe. But if you are working inside a design someone shared with you, or a template you saved earlier, go to File at the top-left and choose Make a copy. Now you can edit freely without touching the source. This matters the moment you want a second version, or you want to reuse the layout next month, or you need to undo a change you cannot quite remember making. A clean original is your reset button. Keep one.
If you are following along on the Canva app for beginners, the same option lives behind the menu icon at the top of the screen. The flow is identical. Copy first, edit second.
Customise the template step by step
This is where the template becomes yours. Work through it in this order so you are not redoing things later:
- Text and fonts. Click any text box to edit it. The top toolbar lets you change the font, size, colour, spacing, and alignment. Replace the placeholder copy with your own words first, because new text often changes how much space you need.
- Colours. Click an element, then click the colour swatch in the toolbar. Enter your company’s hex code (for example
#1A73E8) to match exactly, or pick from the suggested palette. Do colours after the text so you can judge the real contrast. - Images and frames. To replace a photo, click it and either pick a new one from Elements or upload your own from Uploads, then drag it on. Many templates use a frame — a shaped placeholder that crops any image you drop into it. Dropping a photo into a frame is the cleanest way to keep the layout intact (more on frames in the FAQ).
- Resize and arrange. Drag the corner handles to resize an element. Hold Shift while dragging so the proportions stay locked and your images do not stretch. Use the pink alignment guides that appear to line things up.
- Add and group elements. Add new text, shapes, or icons from the left panel. If several items belong together, select them and choose Group so they move as one. That keeps a logo and its tagline stuck together, for instance.

Most canva design tutorial content stops here, at the buttons. The next three sections are where you turn a one-off edit into a repeatable, on-brand habit. This is the part that saves your afternoons.
Canva Design Masterclass
A hands-on, one-day class in Singapore that takes you from template-tweaking to confident, on-brand design.
Make it consistently yours with a Brand Kit
If you make more than one design, set up a Brand Kit so every template you touch starts on-brand. The Brand Kit stores your logo, fonts, and colours in one place. Open a template, and you can apply your brand colours and fonts in a couple of clicks instead of re-typing hex codes every single time.
On the free plan you can store a small set of brand colours (typically three) and upload a logo. Canva Pro and Teams give you more palettes, more fonts, and tighter brand controls. Look for Brand or Brand Kit in the side menu. Learning how to use the Canva brand kit early saves more time than any other habit in this guide, because consistency is what makes a stack of different templates look like they came from one organisation rather than five interns working in the dark. How good is that for a two-minute setup?
Free vs Pro templates, and premium templates without paying for the wrong thing
Not every template is free, and the difference trips people up right at export time. Free templates and free elements have no badge. Premium ones show a small crown icon, or a price, on the thumbnail or on individual elements inside the design.
Here is the part that matters. You can open and edit a premium template for free, but if it contains Pro elements, Canva will either watermark the download or ask you to pay to remove the lock. So check before you spend an hour on it. To use premium templates for free without nasty surprises:
- Filter by price to Free so you only browse free templates.
- If you fall for a Pro template, look for the crown on individual photos and graphics. Swap any locked element for a free one (search the same keyword, filter to free) and the watermark disappears.
- Consider a free Pro trial only if several elements you genuinely need are locked.
Spotting the crown before you commit is the single check that prevents the most common frustration I see among new Canva users in our classes.
Save, resize, and export the right file type
Canva saves automatically as you work, so there is no Save button to hunt for. You will see “All changes saved” near the top. Your designs live under Projects, ready to reopen any time.
When you need the same design in another size — a poster reworked as an Instagram post, say — use Resize (called Magic Switch on paid plans). It copies your content into the new dimensions so you do not rebuild from scratch.
To export, click Share, then Download, and choose the file type. The right choice depends on where the design is going:
| File type | Best for | Why |
|---|---|---|
| PNG | Web graphics, logos, anything with text or transparency | Sharp edges, supports transparent backgrounds |
| JPG | Photo-heavy posts, smaller file size | Compresses well, no transparency |
| PDF Standard | Sharing documents on screen | Smaller, screen-quality |
| PDF Print | Anything you will physically print | High resolution, supports crop marks and bleed |
Choosing PDF Print for an A4 flyer and PNG for a social post is the difference between a crisp result and a blurry one. This is the third place beginners stumble, and it is entirely avoidable once you know the rule above. Get this wrong on the poster going to the printer and, of course, your manager will not be pleased.
Power moves: bulk create and reusing a template across many items
Once you are comfortable editing one template, Bulk Create lets you apply a single template across dozens of items at once. It is built for things like name badges for an event, product cards, certificates, or a set of social posts that share a layout but differ in text and images.
The flow is straightforward. Design your template, open Bulk Create (under Apps or the side panel), connect a list of data (type it in or upload a CSV), then map each column to a placeholder in your design. Canva makes one finished design per row. What used to be an afternoon of copy-and-paste becomes a few minutes. If you find yourself doing repetitive design work like this, it sits naturally alongside using AI and automation tools to take busywork off your plate.
Common mistakes and quick fixes
After 24 years of training, I see one pattern repeatedly: Singapore professionals are over-trained on theory and under-trained on application. People know Canva exists. Fewer know the small fixes below, which is most of the gap between a frustrating afternoon and a calm one:
- You edited the original instead of a copy. Use File → Make a copy before editing shared designs, and rename copies clearly.
- An element is locked or watermarked. It is a Pro element (look for the crown). Swap it for a free one filtered to Free.
- Your download looks blurry. You exported a screen-resolution file for print. Re-export as PDF Print or a high-resolution PNG.
- The image stretched out of shape. You resized without holding Shift. Undo, then drag a corner handle with Shift held down.
- Text overflows the box. The template was built for less copy. Shorten the text, drop the font size, or pick a template made for more content.
Knowing these five in advance is most of what it means to use Canva effectively. You spend your time designing instead of fixing. If your next template is a deck, the sibling guide on designing a presentation in Canva picks up where this leaves off; if you want to earn from the skill, see how to make money with Canva.
Frequently asked questions
Are Canva templates free to use?
Many are. Canva has a large free library, and you can filter by price to show only free templates. Some templates and individual elements are Premium, marked with a crown, and need Canva Pro or a one-off payment to download without a watermark. You can still open and edit a premium template for free. Just swap any locked elements for free ones before you download, and you are set.
Can I use a Canva template to build a website?
Yes. Canva has website templates, and you can publish a simple site straight from Canva with a free Canva subdomain, or connect your own domain on a paid plan. Pick a template from the Websites category, edit it like any other design, then click Publish website. For a full business site you may still prefer a dedicated website builder, but for a landing page or a portfolio, a Canva website template is quick and surprisingly capable.
How do I use a Canva email template?
Choose an email or newsletter template, customise the text and images, then download it as an image or PDF, or share a link. Canva does not send the email itself. You export the design (or copy the link) and drop it into your email tool, such as Mailchimp or Gmail. For graphics-heavy emails, export as a PNG and insert it into the body of the message.
Do Canva templates work for videos too?
Yes, and they work the same way. You replace clips, text, and music instead of static images. Click a video placeholder to swap in your own footage or a stock clip, trim it on the timeline, then download as MP4. If you do a lot of this, learning AI-assisted video editing alongside Canva speeds things up nicely.
What is a frame inside a template and how do I swap the image?
A frame is a shaped placeholder — a circle, a phone, a polaroid outline — that automatically crops whatever image you drop into it. To use it, drag a photo from Uploads or Elements straight onto the frame and let go. The image snaps to the frame’s shape and stays cropped neatly, so the layout holds together. Double-click the frame to reposition the image inside it.
Can I use Canva templates on my phone?
Yes. The Canva mobile app, on iOS and Android, gives you the same template library and most of the editing tools. The flow is identical: search, open, make a copy, edit. Fine adjustments are easier on a bigger screen, though. Your designs sync across devices, so you can start on your phone in the MRT and finish on a laptop at your desk.
How do I use a premium template without a Pro subscription?
Open the premium template, since editing is free, then replace any element marked with a crown. Search for a similar free element, filter the results to Free, and swap it in. Once no locked elements remain, the watermark disappears and you can download at no cost. If too many core elements are locked, a free Pro trial is the honest alternative.
I hope you’ll find these steps useful. Do try it out on one real task this week — perhaps the next slide deck or flyer your team needs — and you will pick up the workflow far faster than reading about it. For the SkillsFuture-eligible route to using the tool at work, the SkillsFuture portal lists funded design and digital-skills classes.
Ready to design with real polish? Our hands-on Canva training in Singapore takes you through templates, brand kits, and the export workflow on real exercises — WSQ-funded and SkillsFuture-eligible.